How to Manage Appointments Affected by Doctor Schedule Changes ?
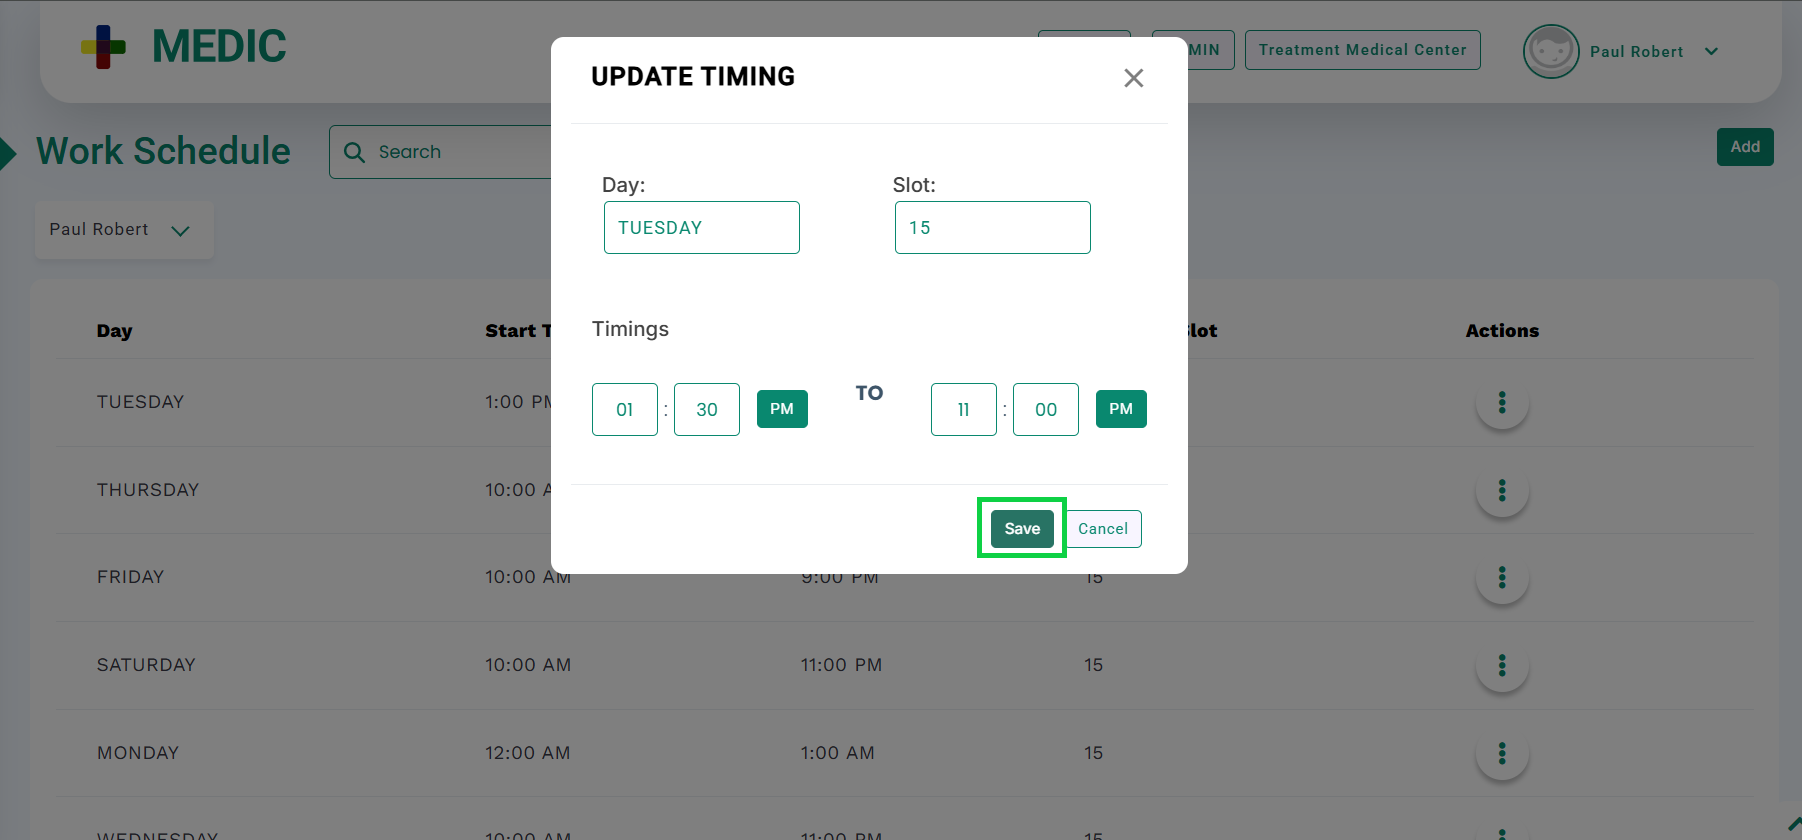
Go to the “Work Schedule” screen from Settings > Schedule, update the doctor’s schedule and click the “Save” button, highlighted below.
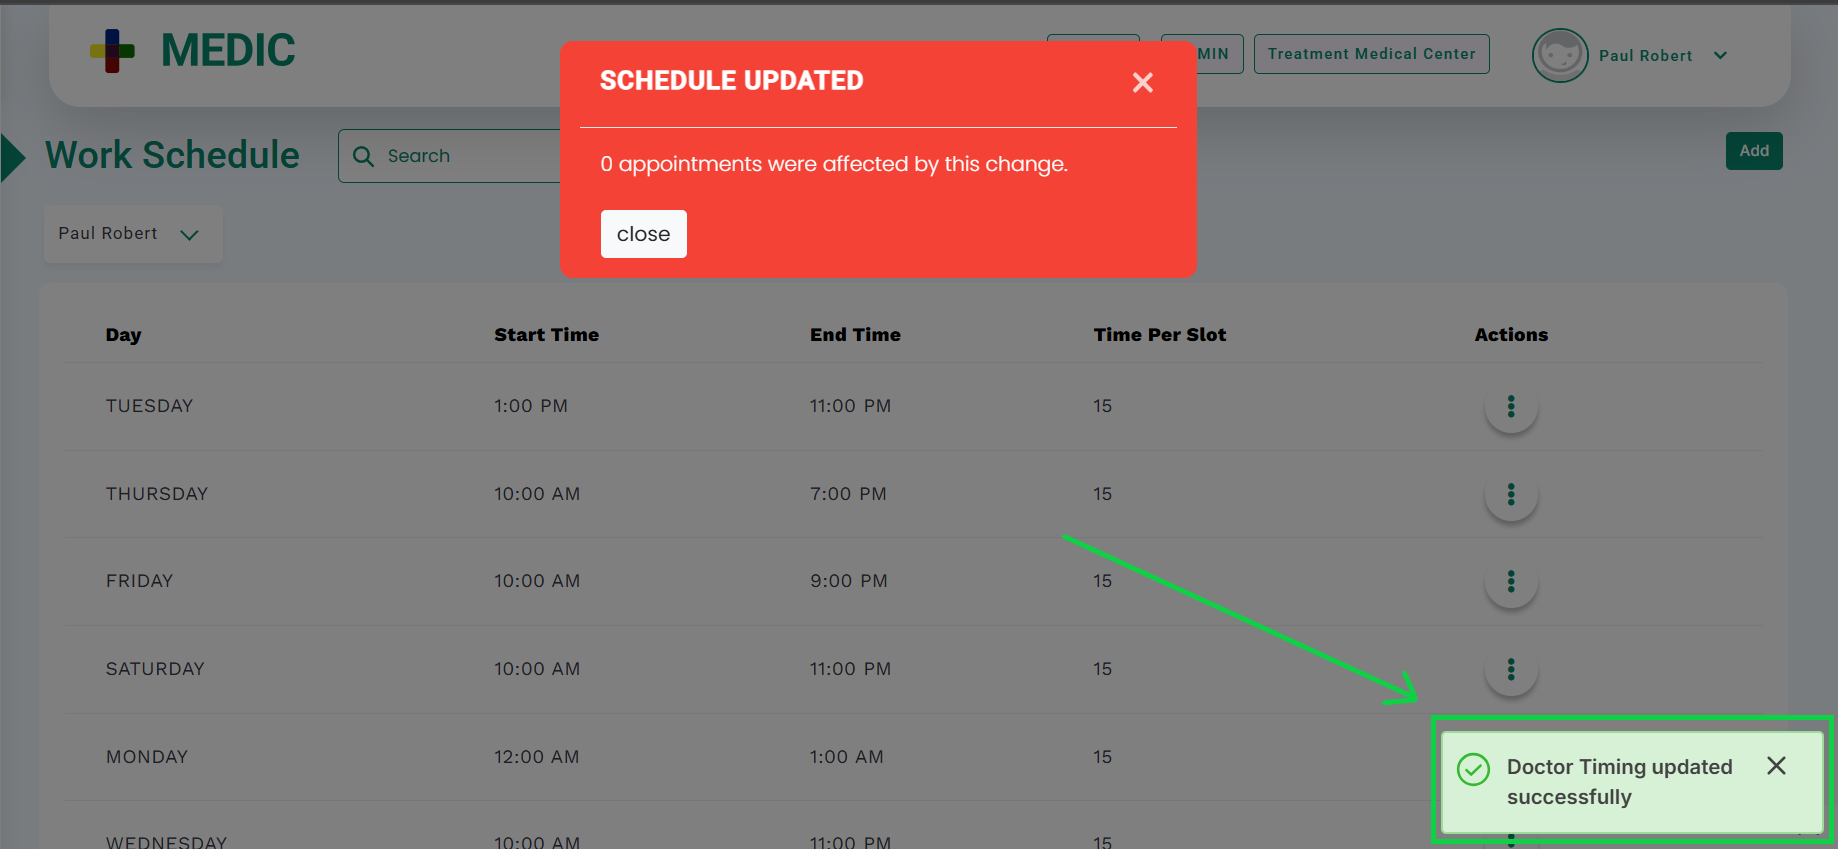
A pop up will appear at the bottom right corner of the screen displaying successful update of doctor schedule, as highlighted in the below image.
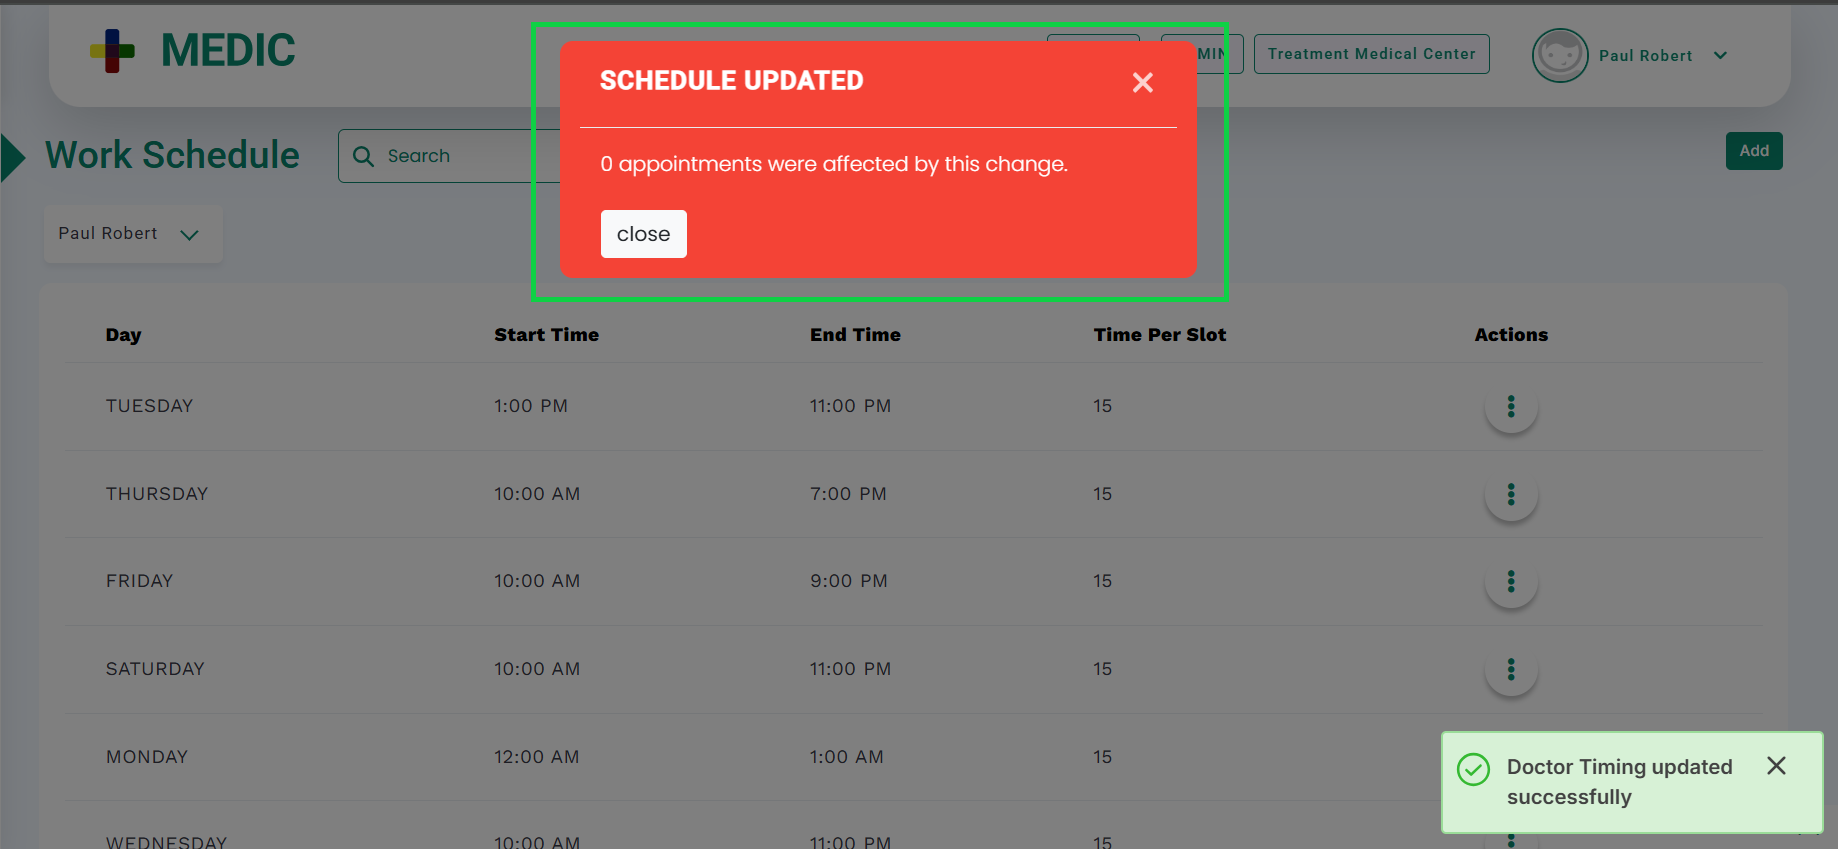
If the booked appointments match the updated doctor’s schedule, they will remain booked. A modal will appear displaying “0 appointments were affected by this change”, as shown in the below image.
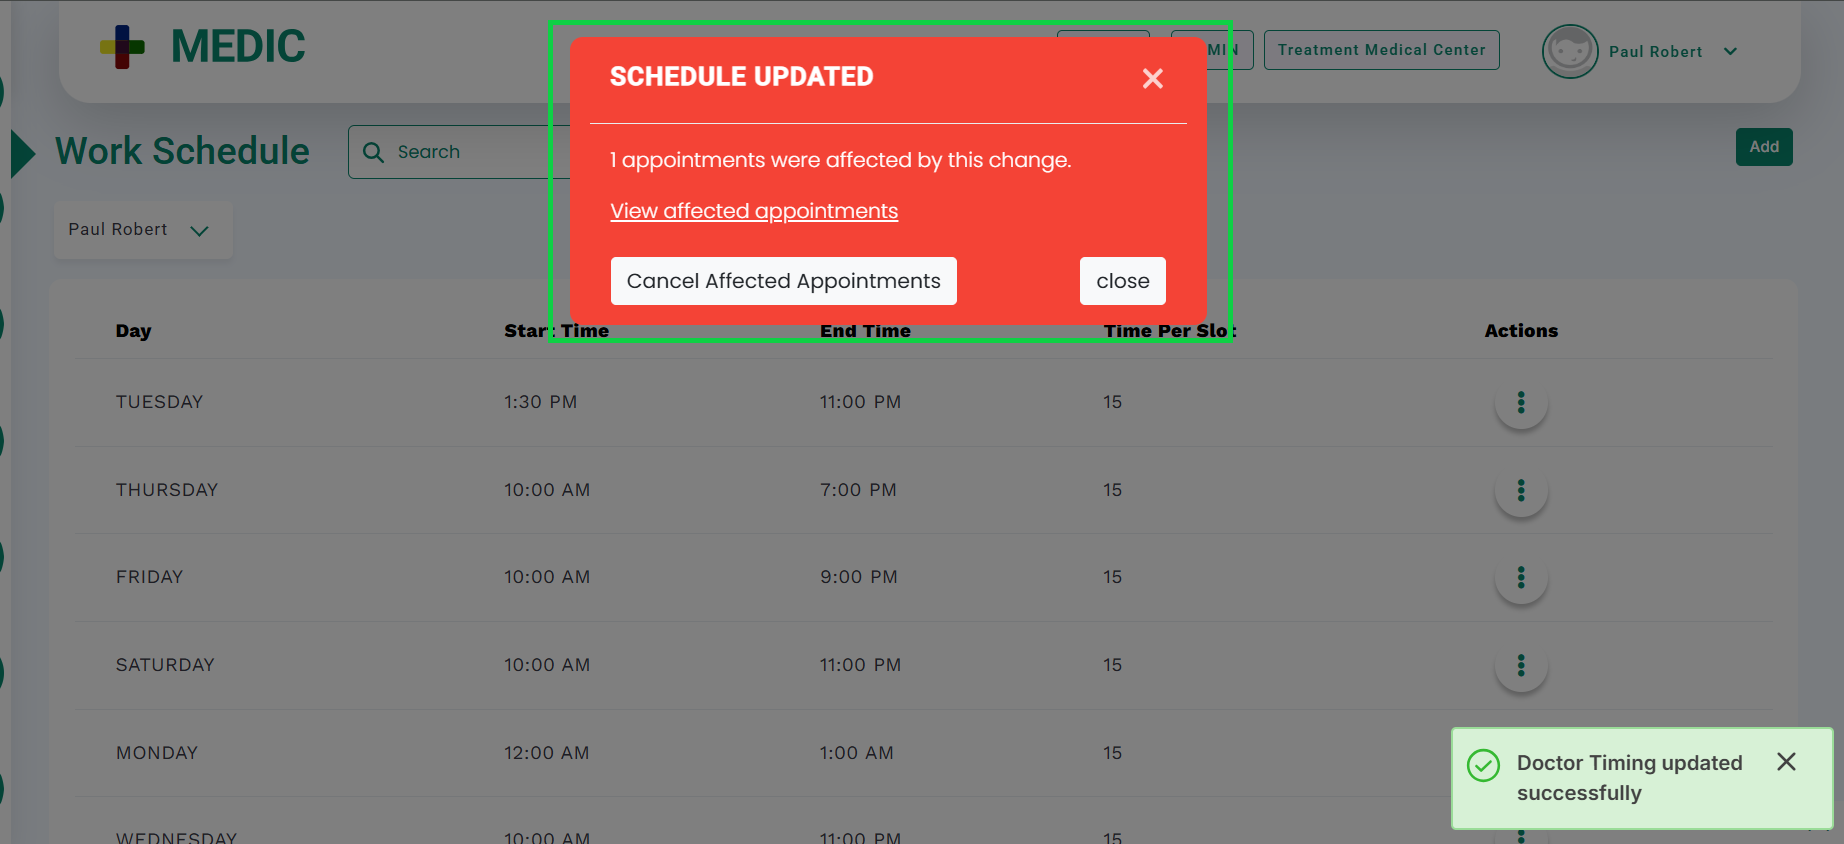
If the booked appointments fall outside the updated schedule (a timeslot where the doctor is no longer available), the modal will display the number of appointments affected “[n] appointments were affected by this change”, as shown in the below image.
If you want to cancel all the booked appointments that are affecting, click the “Cancel Affected Appointments” button, as highlighted in the below image.
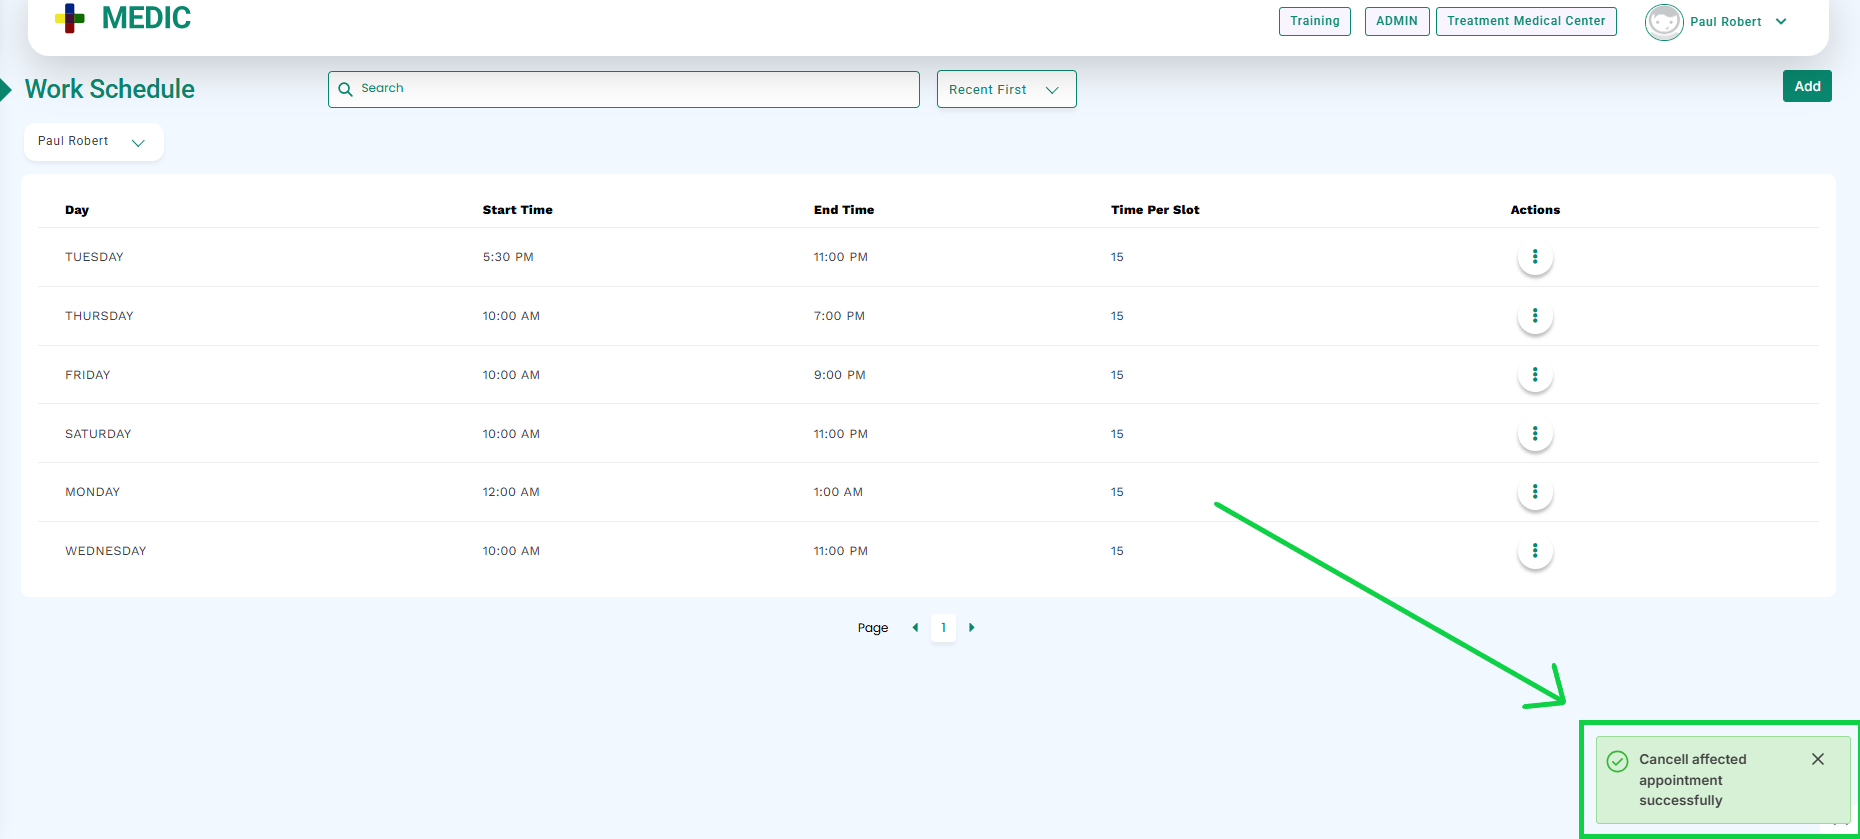
A pop up will appear at the bottom right corner of the screen displaying successful cancellation of affected appointments, as highlighted in the below image.
If you want to edit, cancel, or reschedule the affected appointments, click on the “View affected appointments” link, as highlighted in the below image.
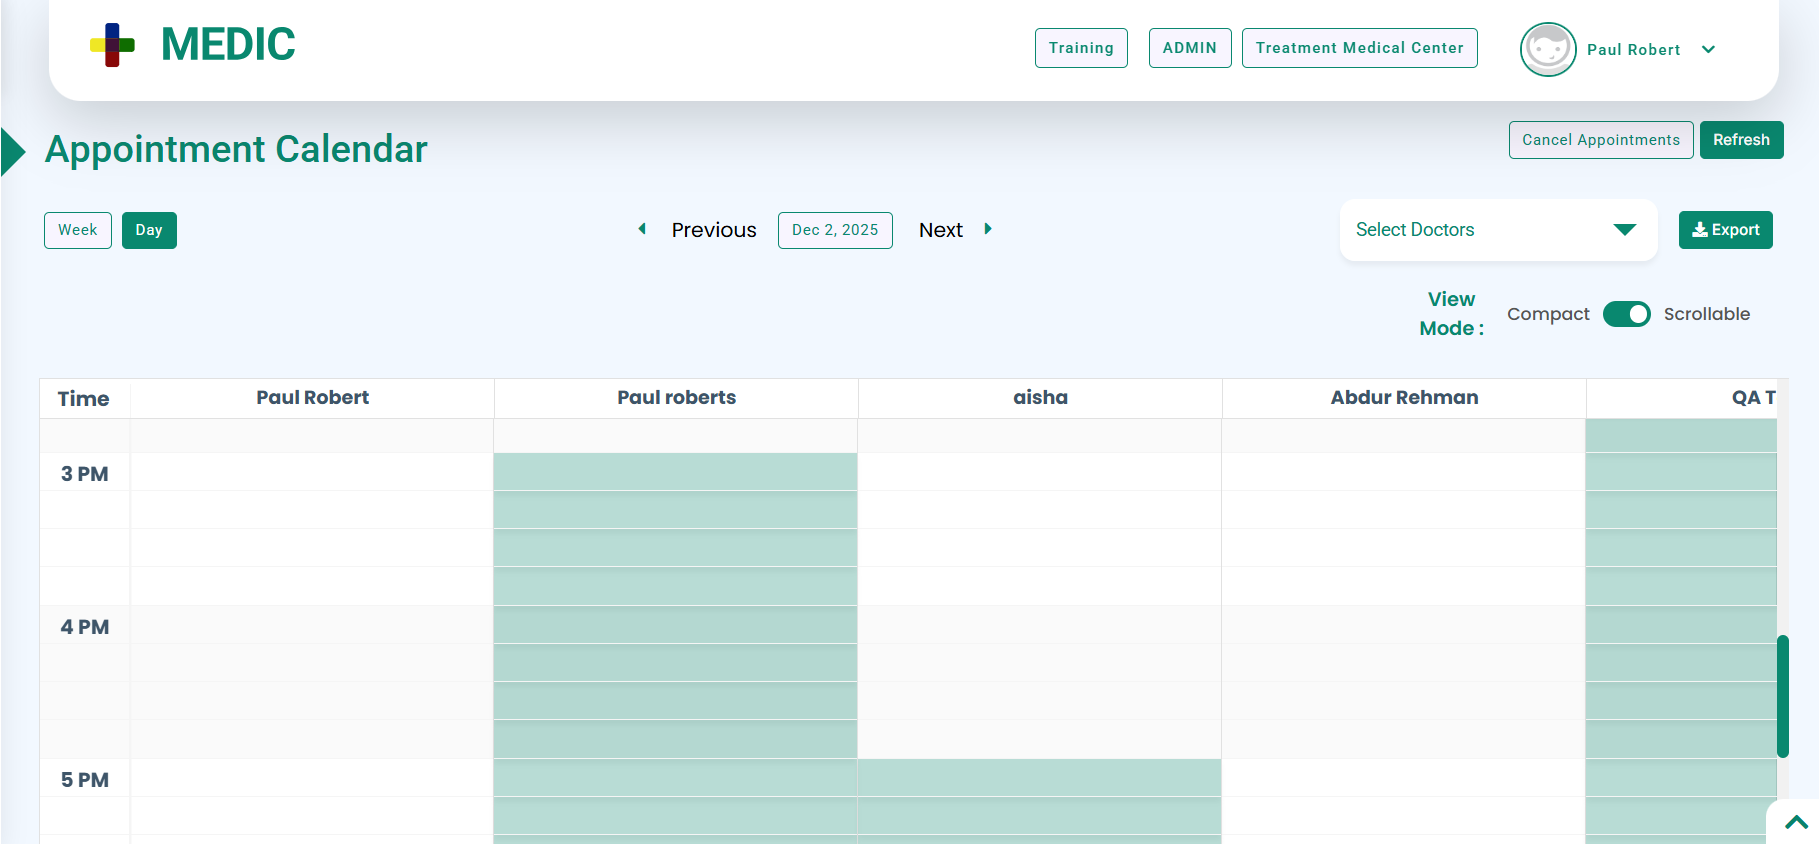
The system will navigate you to the “Appointment Calendar” screen, as shown below.
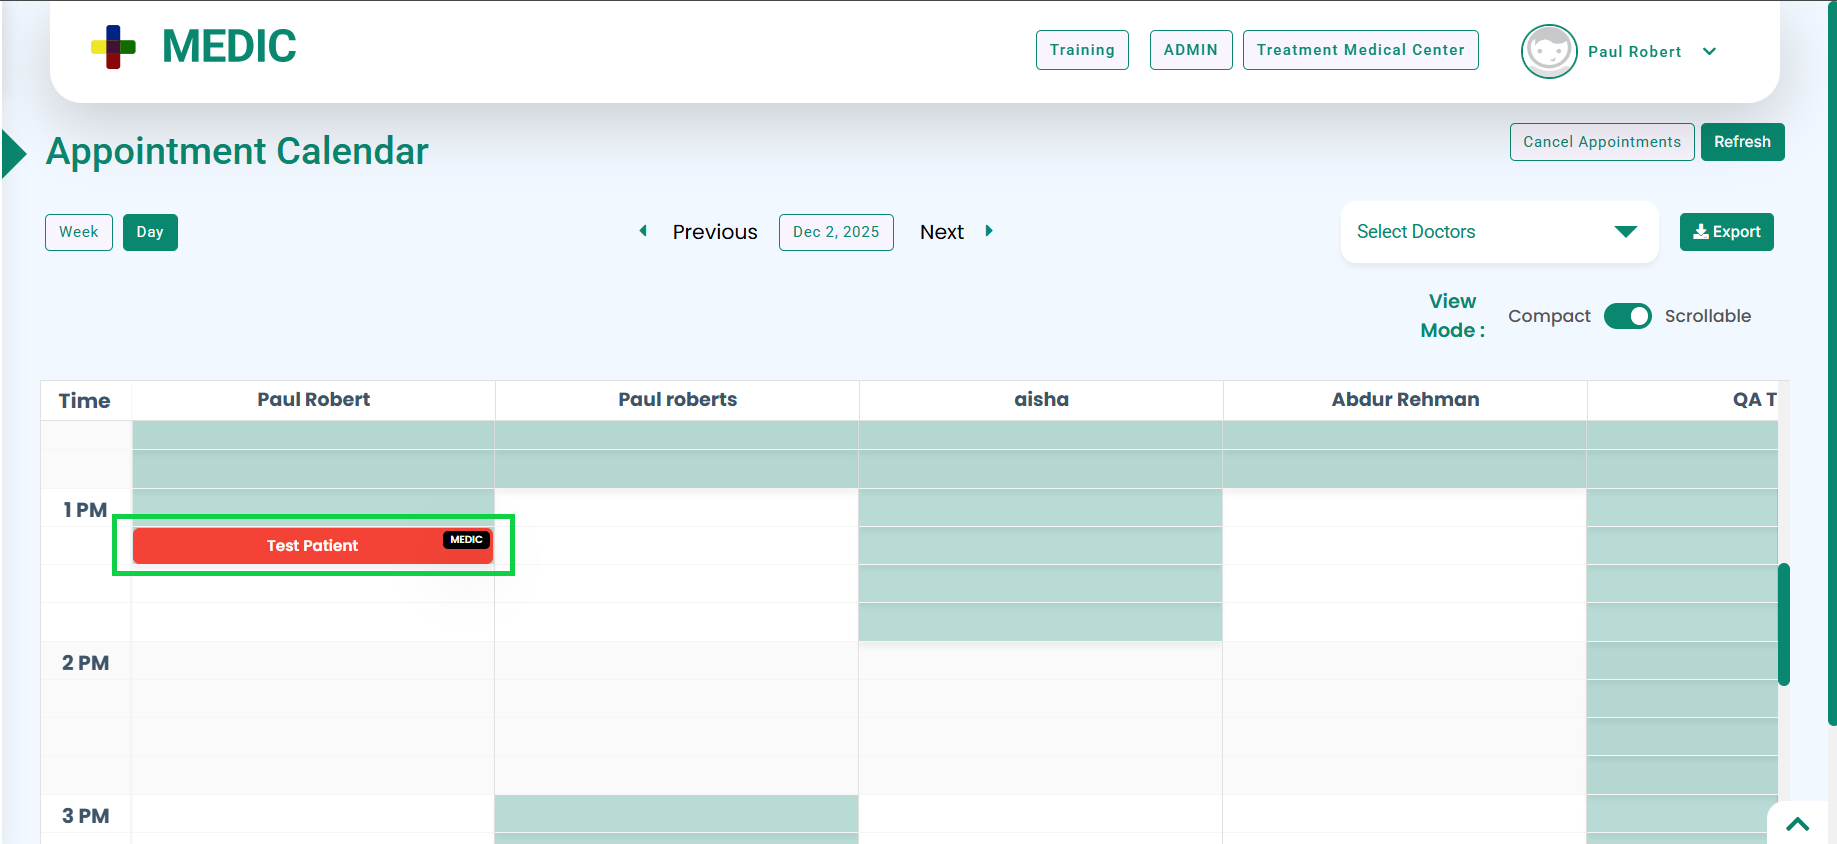
The affected appointment will be displayed in red, as highlighted in the below image.
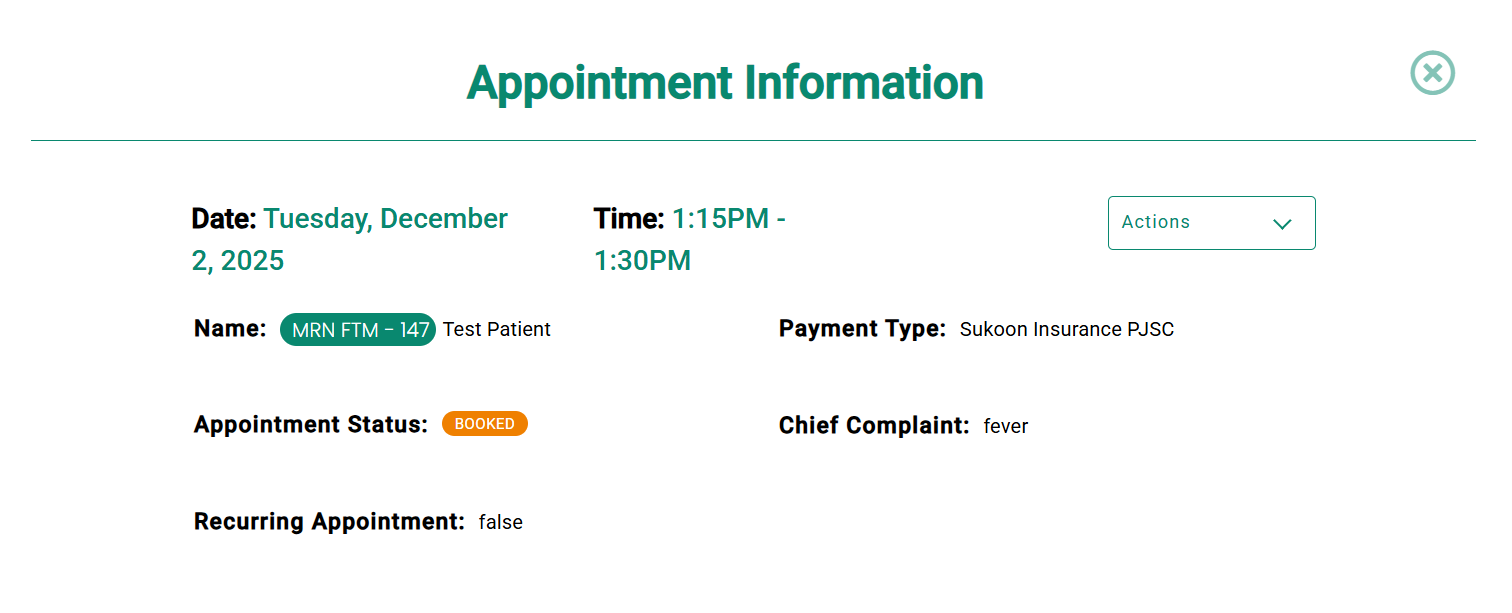
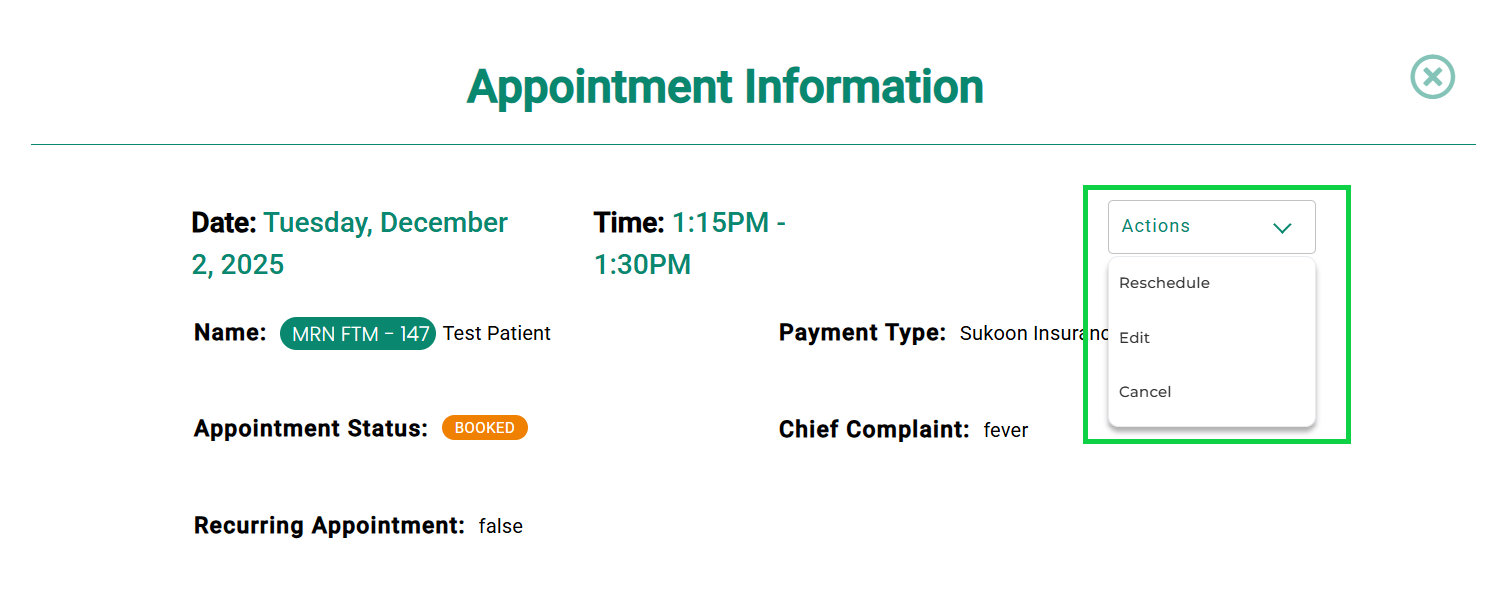
Clicking on the affected appointment will open the “Appointment Information” modal as shown below.
You can now Reschedule, Edit, or Cancel the appointment from the Actions button, as highlighted in the below image.