As mentioned in the Pre-requisites, go to the Clinic Favourites screen.
Press the Add Favourite button as highlighted in the image below.
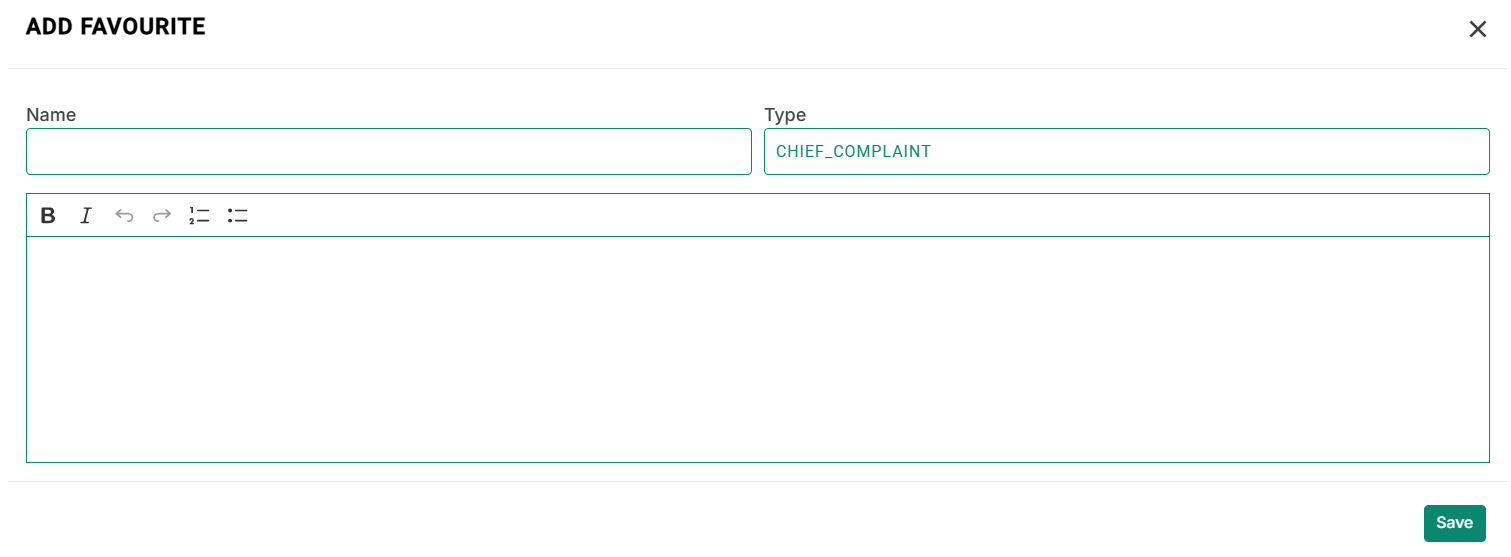
After pressing the Add Favourite button, the medic will display a new dialog box as shown below.
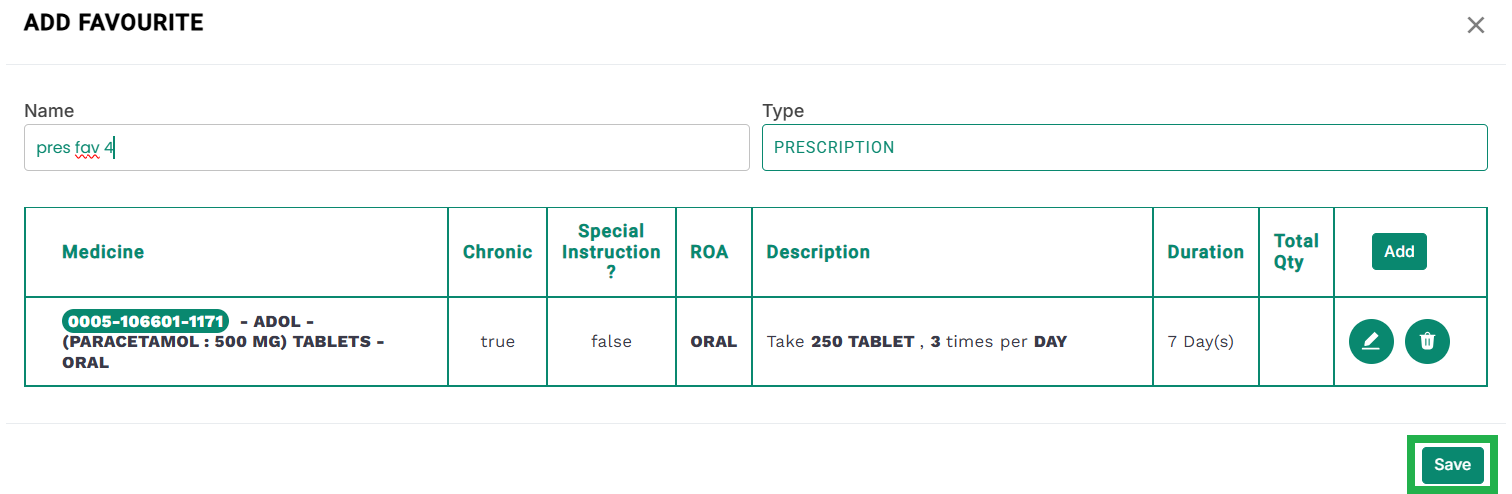
The users need to add the Name of the favourite and select the Type of the favourite.
Favourite Type: Chief Complaints, History of Present Illness, Subjective Symptoms, Review of System, Physical Exam, Treatment Instructions, or Treatment Plan
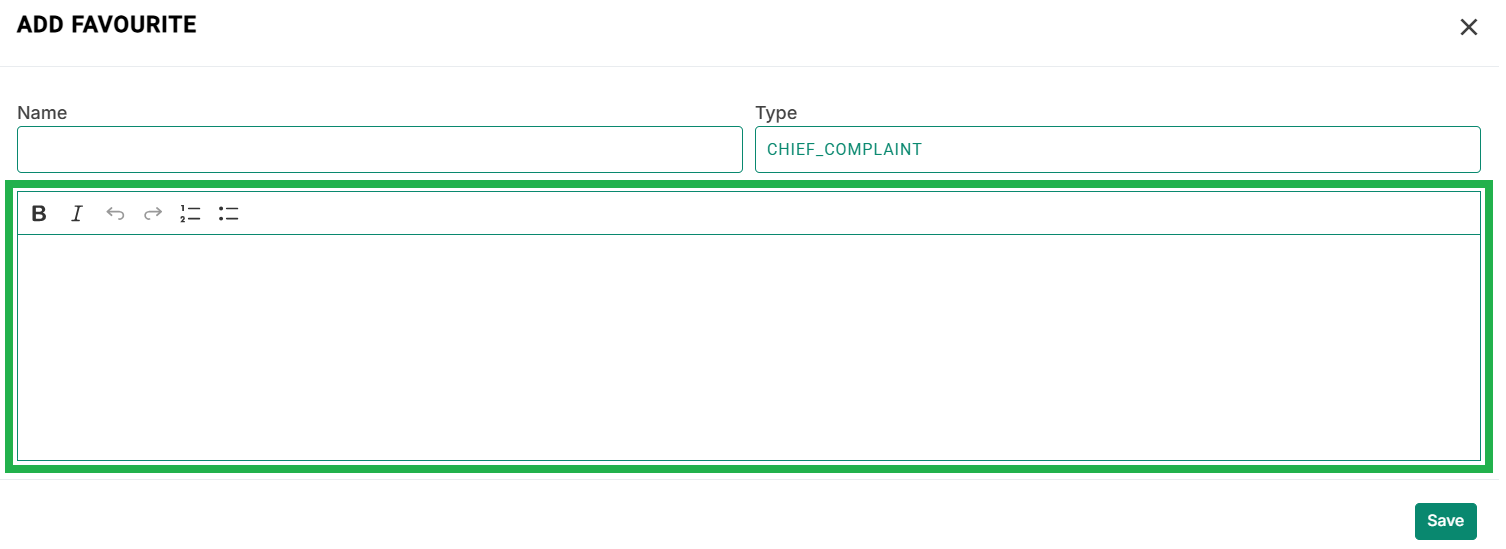
If the favourite type selected is chief complaints, history of present illness, subjective symptoms, review of system, physical exam, treatment instructions, or treatment plan, there is also a field to add text/description, as seen in the below image.
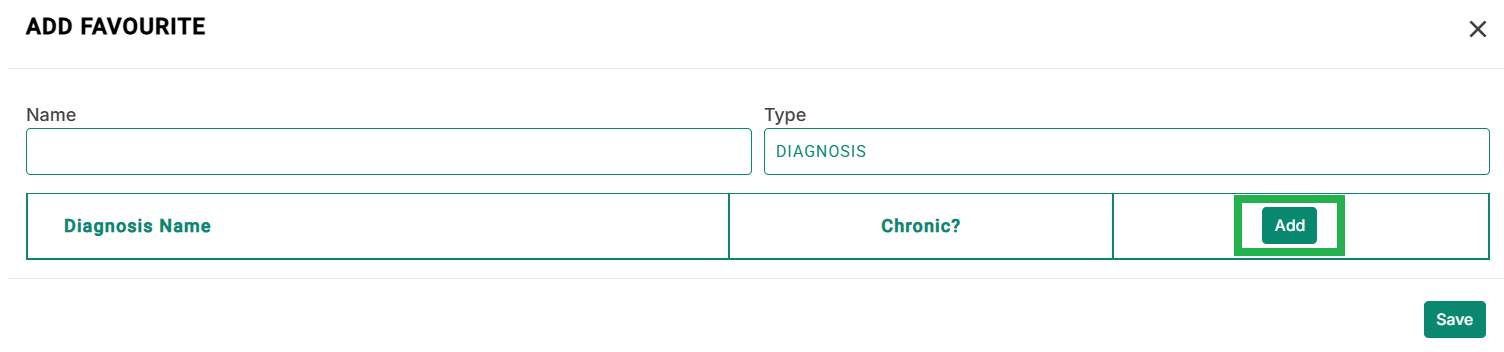
Favourite Type (Diagnosis): If the favourite type is selected as diagnosis, the modal will display the row with an Add button, as seen below.
Click the Add button, as highlighted in the above image.
Medic will add a row in the modal to enter the Diagnosis Name and a checkbox to mark the diagnosis as chronic (if it is chronic), as shown below.
As users start writing the Diagnosis Name, the medic will start giving suggestions. Users need to pick one of the suggestions.
After entering all required fields, click the tick icon to save the diagnosis as highlighted in the below image.
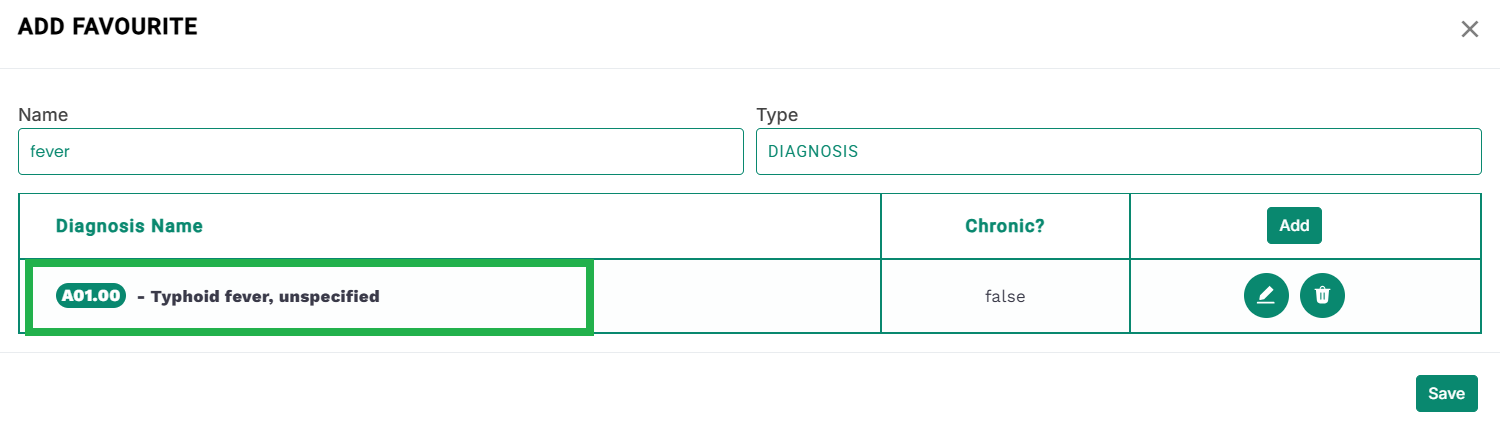
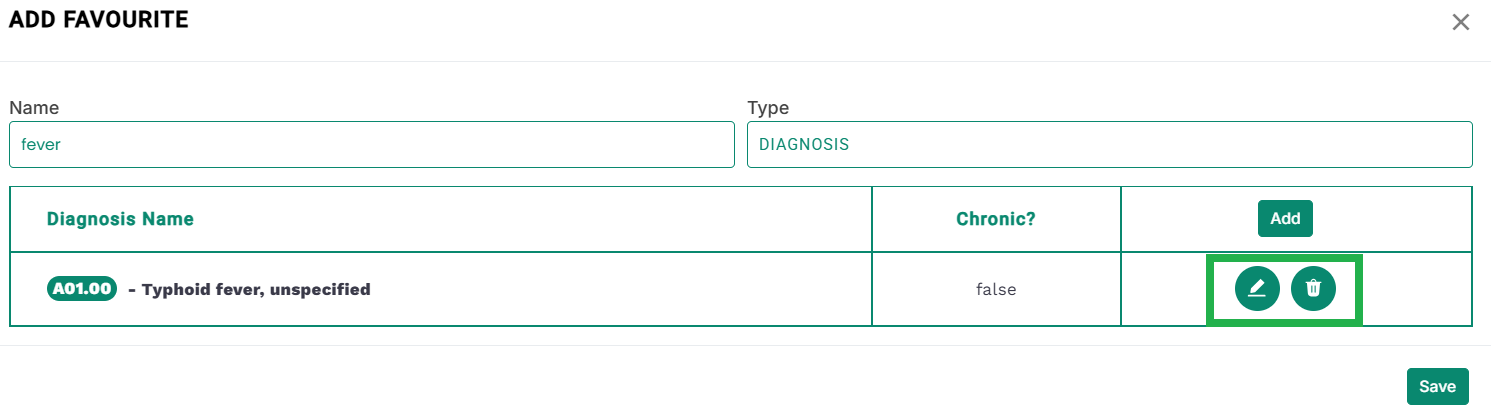
The diagnosis will be added as seen below. Multiple rows can be added in the similar way.
The added rows can be edited or deleted by the edit and delete icons present in front of each row, as highlighted in the below image.
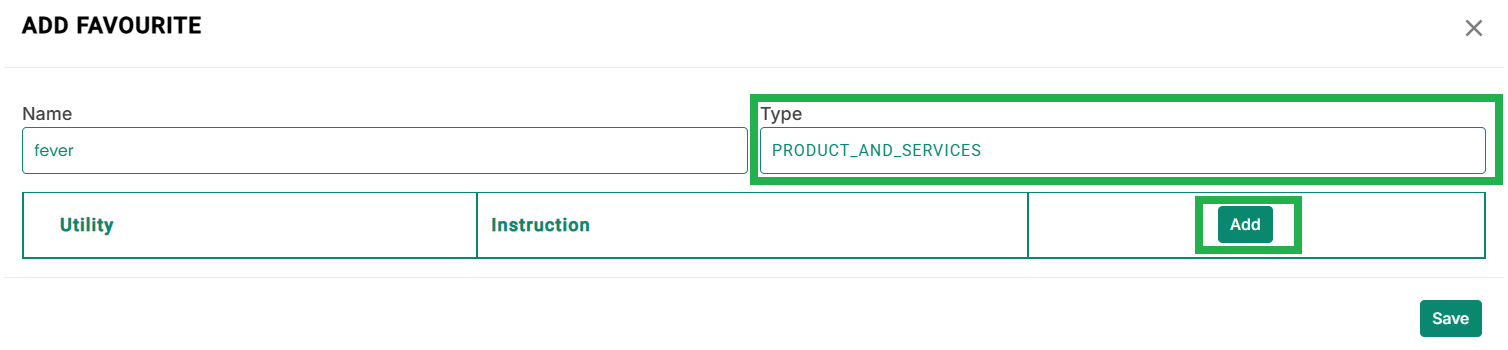
Favourite Type (Lab, Imaging, Procedure, or Product and Services): If the favourite type is selected as lab, imaging, procedure, or product and services, the modal will display the row with an Add button, as seen below.
Click the Add button, as highlighted in the above image.
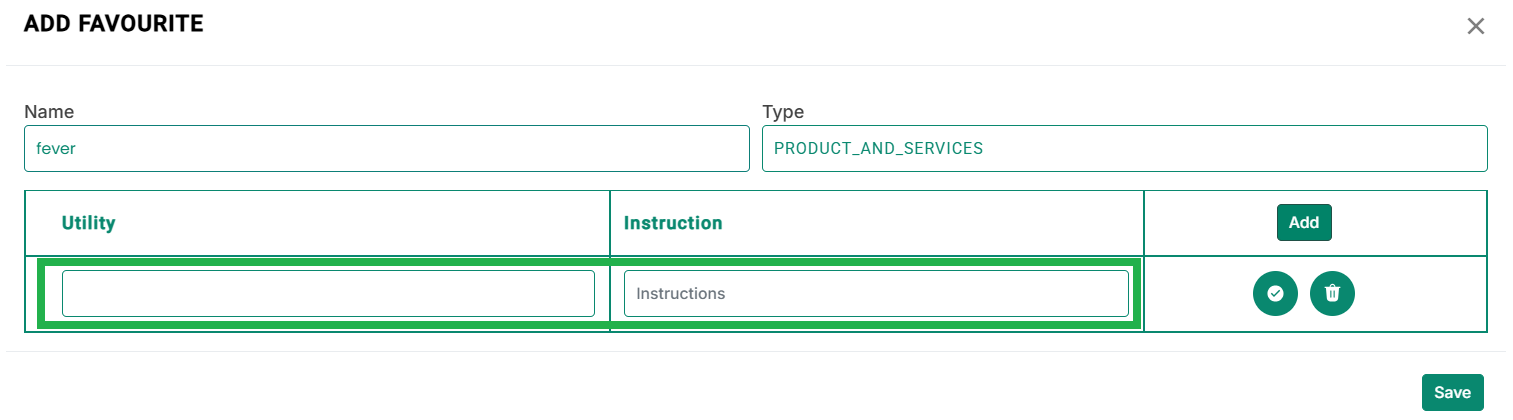
Medic will add a row in the modal to enter the utility and instructions, as shown below.
As users start writing the Utility, the medic will start giving suggestions. Users need to pick one of the suggestions.
After entering all required fields, click the tick icon to save the row as highlighted in the below image.
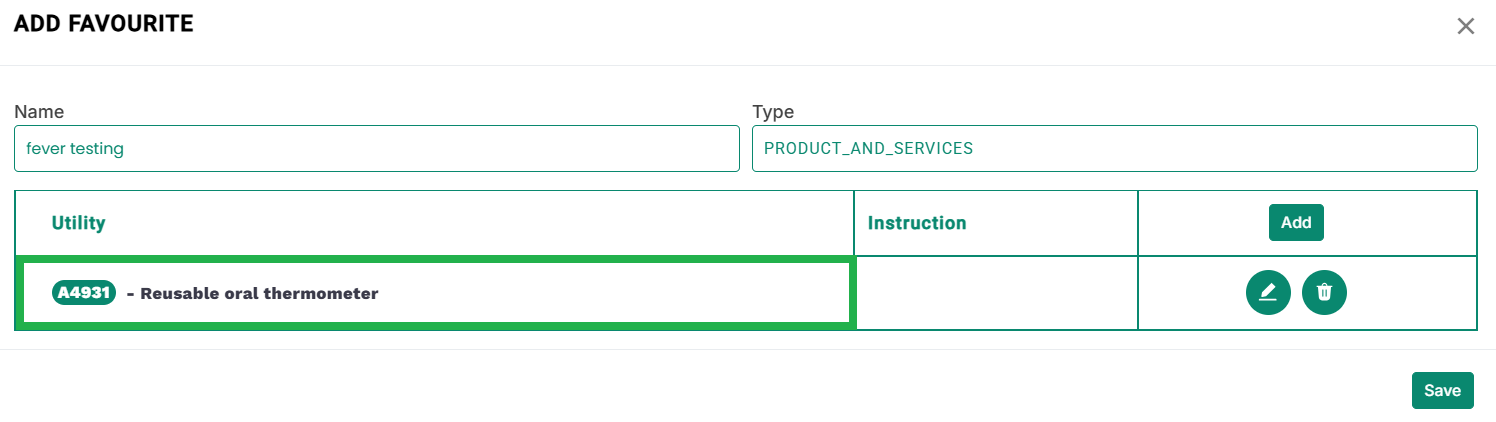
The row will be added as seen below. Multiple rows can be added in the similar way.
The added rows can be edited or deleted by the edit and delete icons present in front of each row, as seen in the above image.
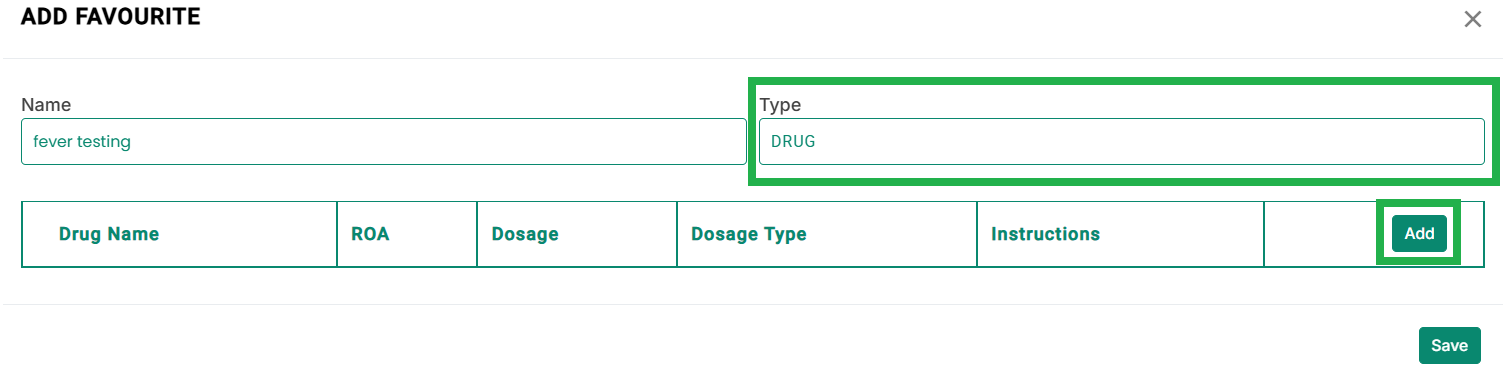
Favourite Type(Drug): If the favourite type is selected as drug, the modal will display the row with an Add button, as seen below.
Click the Add button, as highlighted in the above image.
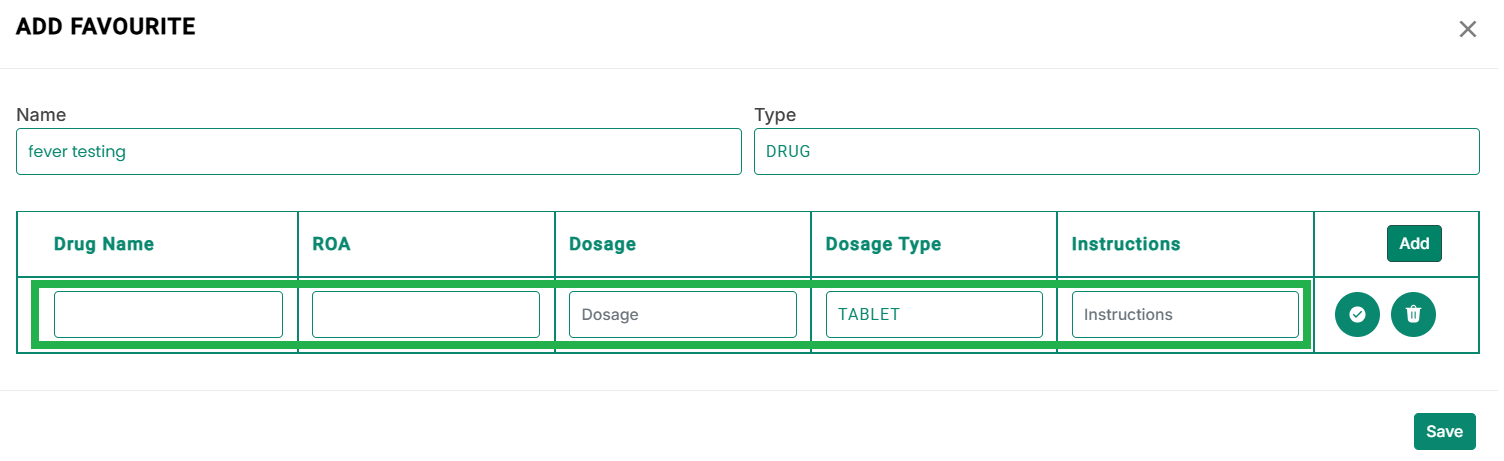
Medic will add a row in the modal to enter the Drug Name, ROA (Route of Administration), Dosage, Dosage Type, and instructions, as shown below.
As users start writing the Drug Name and ROA, the medic will start giving suggestions. Users need to pick one of the suggestions.
Select the Dosage Type from the dropdown menu.
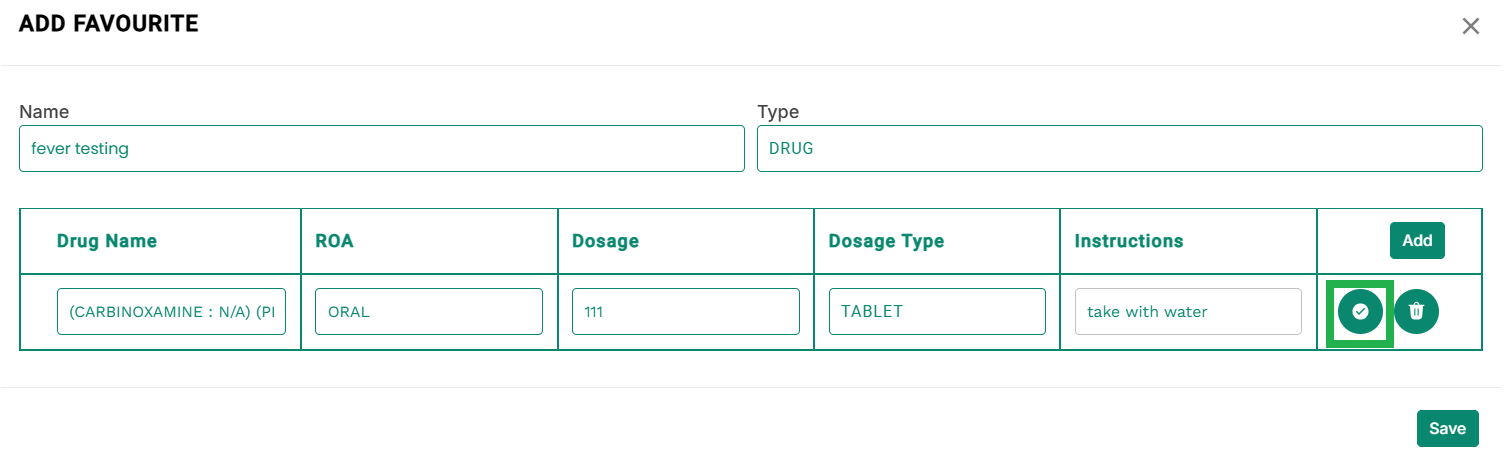
After entering all required fields, click the tick icon to save the drug as highlighted in the below image.
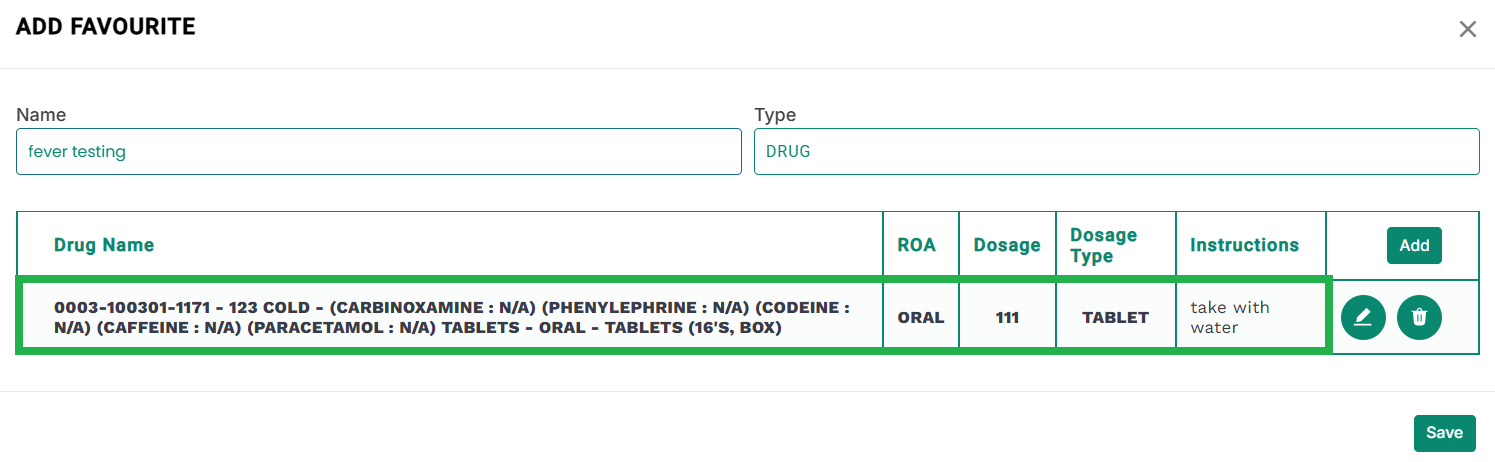
The drug will be added as seen below. Multiple rows can be added in the similar way.
The added rows can be edited or deleted by the edit and delete icons present in front of each row, as seen in the above image.
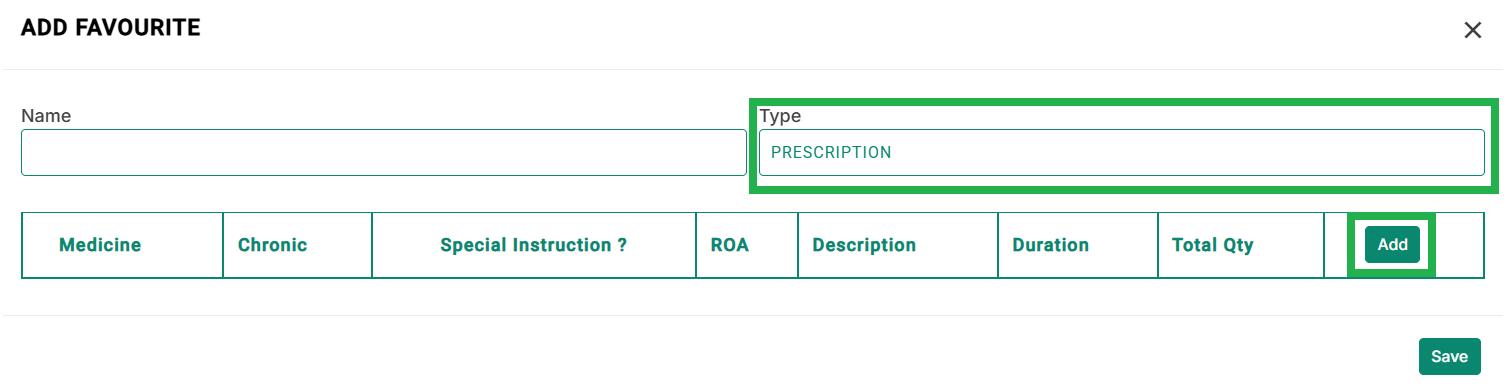
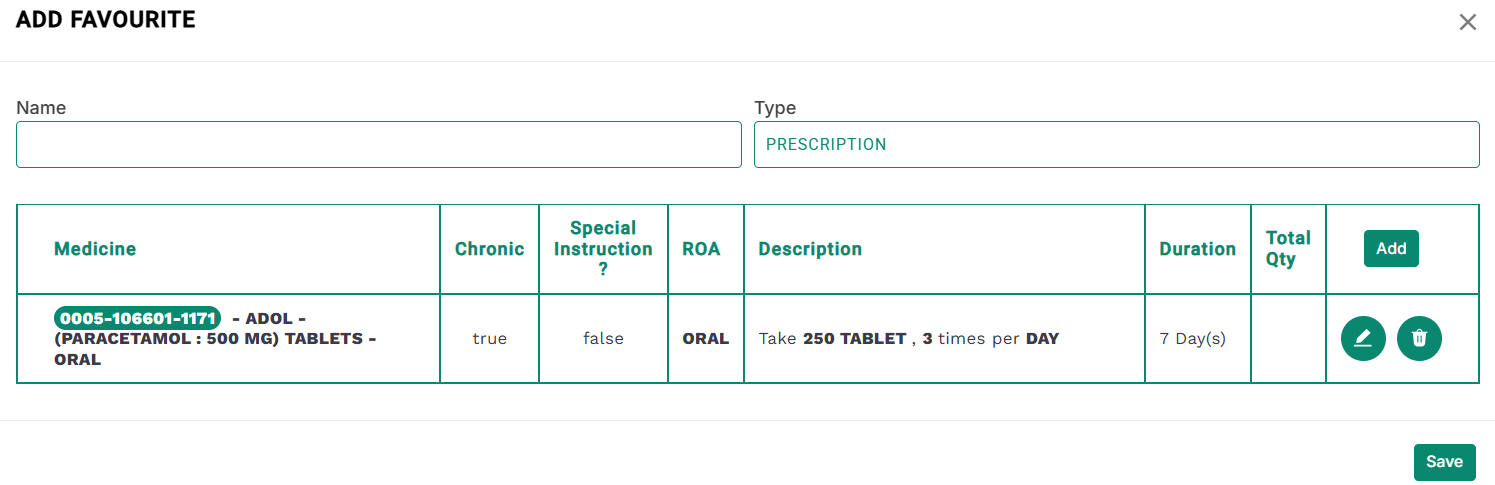
Favourite Type(Prescription): If the favourite type is selected as prescription, the modal will display the row with an Add button, as seen below.
Click the Add button, as highlighted in the above image.
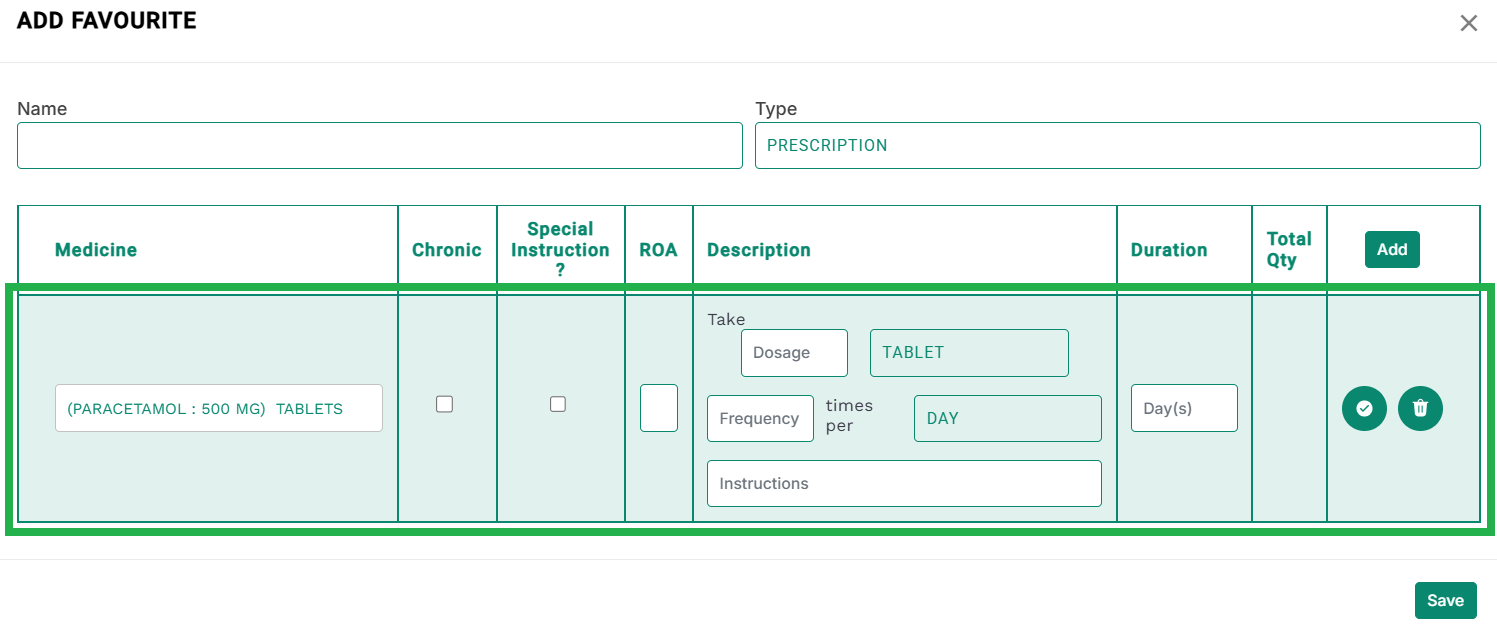
Medic will add a row in the modal to enter the Medicine, checkboxes (a) to mark the medicine as chronic (if it is chronic) and (b) Special instructions, ROA, Description (Dosage, Frequency and Instructions), Duration, and Total Quantity, as shown below.
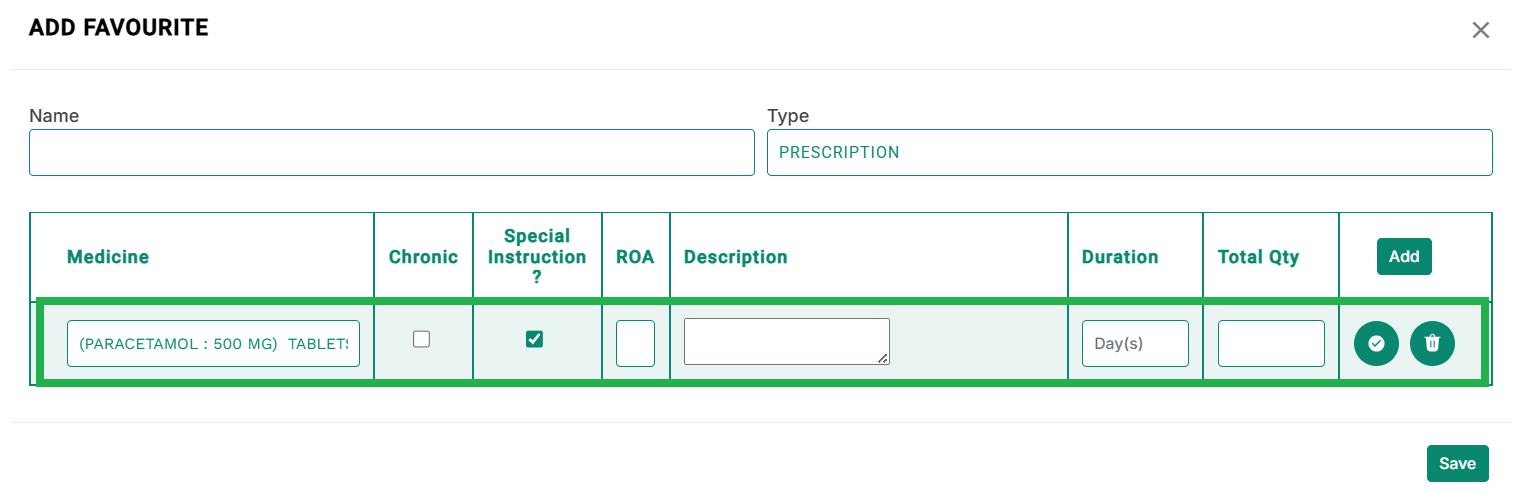
If the checkbox for Special Instructions is marked, the description column will display a single field to enter the text, as seen below.
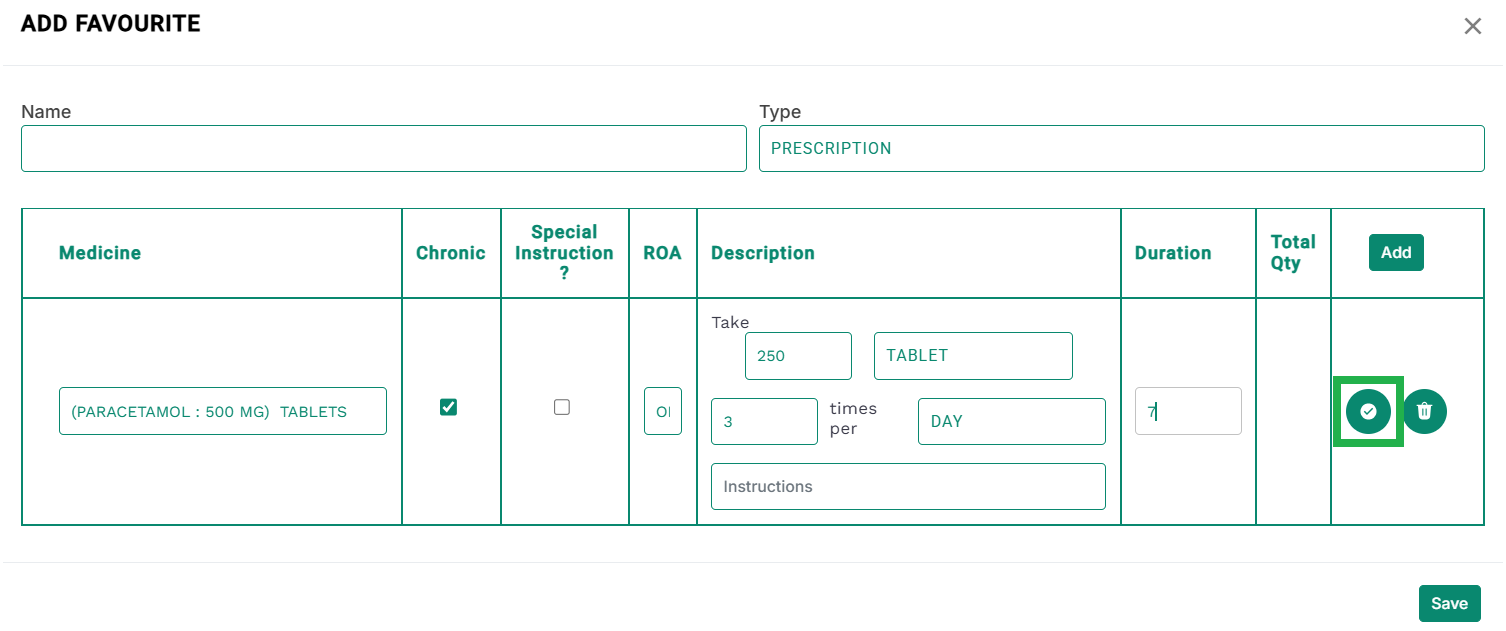
As users start writing the Medicine and ROA, the medic will start giving suggestions. Users need to pick one of the suggestions.
After entering all required fields, click the tick icon to save the prescription, as highlighted in the below image.
The prescription will be added as seen below. Multiple rows can be added in the similar way.
The added rows can be edited or deleted by the edit and delete icons present in front of each row, as seen in the above image.
After entering all the required fields according to the Type, click the Save button at the bottom-right of the Add Favourite modal, as highlighted below.
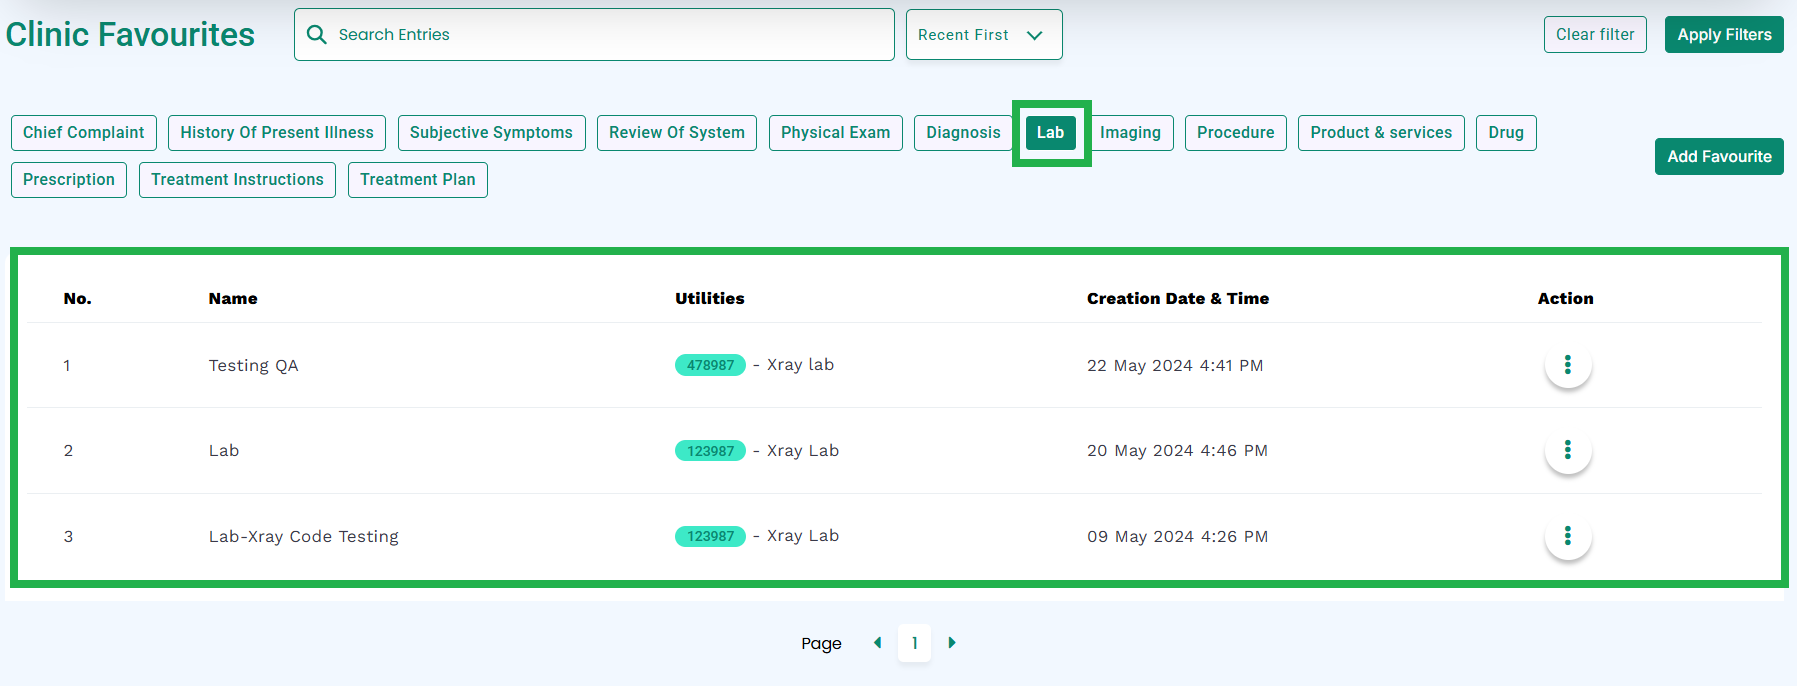
The clinic favourite will be added and saved in the respective types’ tab. For example the favourite for the Type Lab will be saved under the Lab tab on the Clinic Favourites screen, as seen below.