Upload Insurance Pricing List
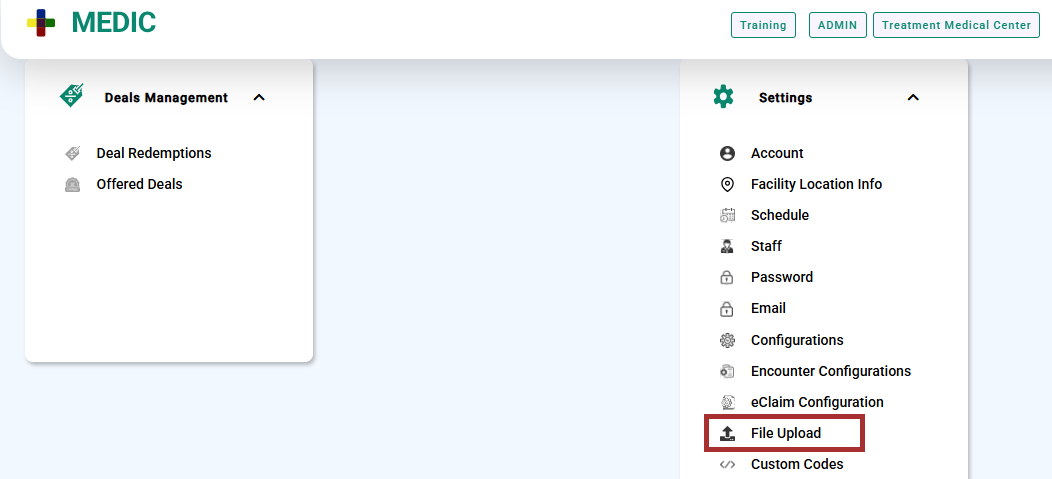
- Go to the “Settings” module and select “File Upload” from the admin account.
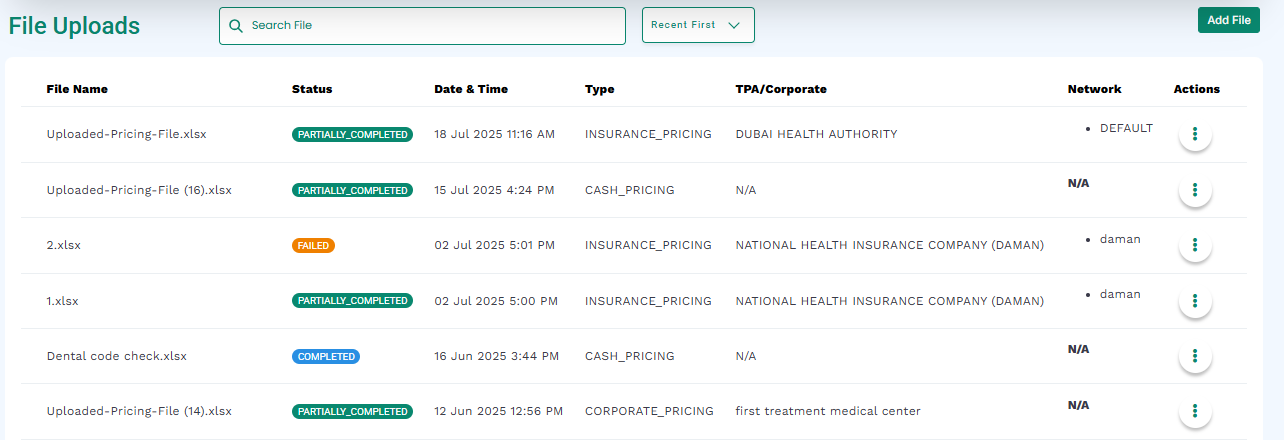
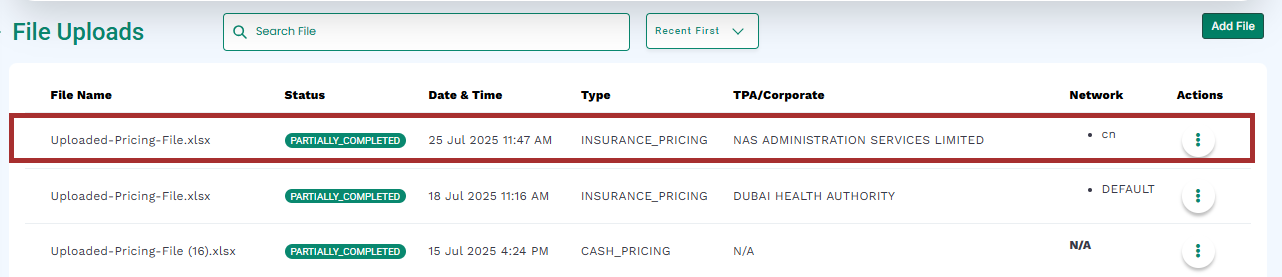
- The medic will display the File Uploads screen.
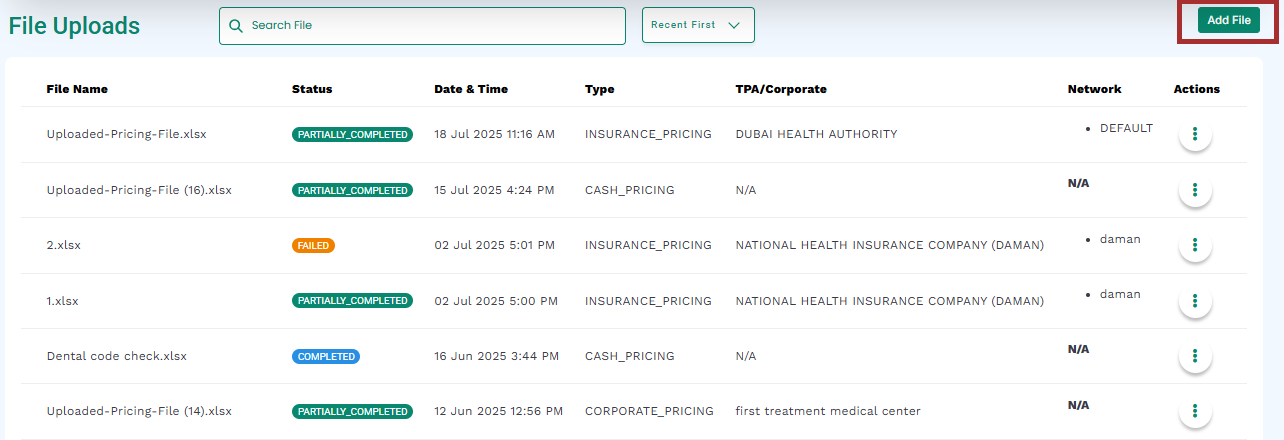
- Click the “Add File” button.
- A modal will open.
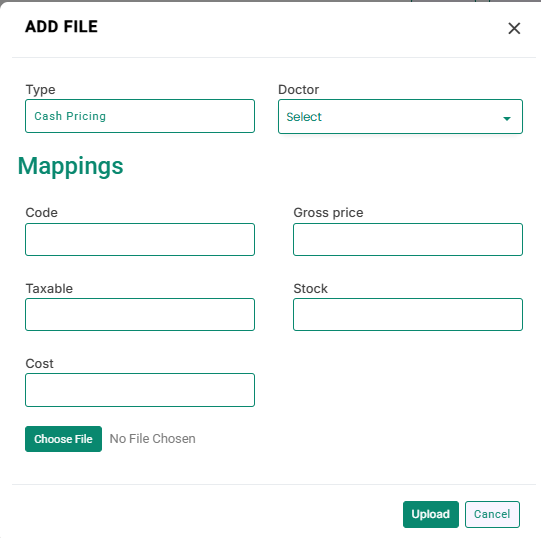
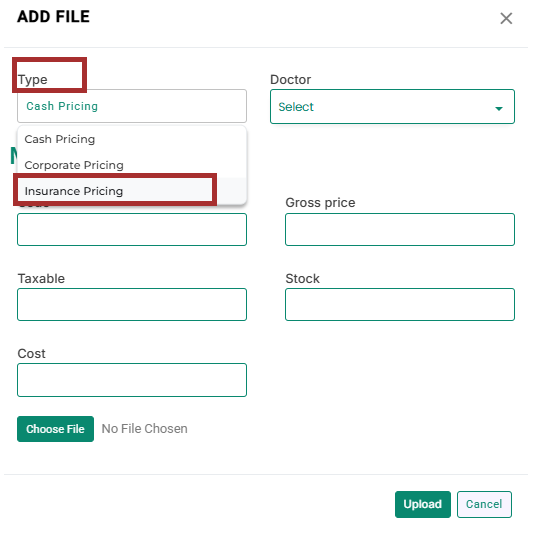
- Select the Type as “Insurance Pricing”.
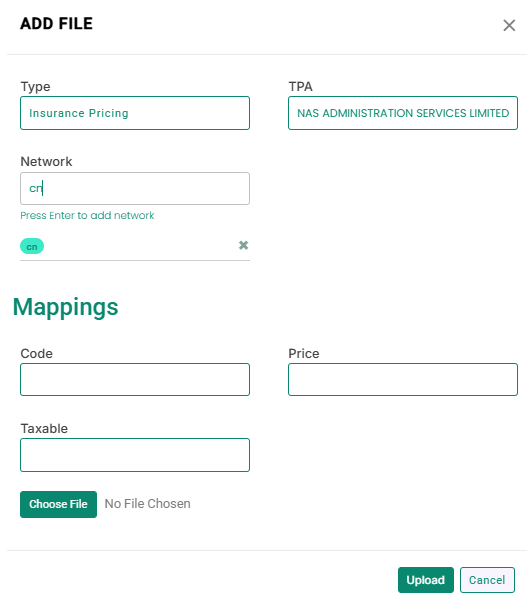
- Enter the TPA name in the TPA field, for example: NAS ADMINISTRATION SERVICES LIMITED.
- Enter the Network in the Network field, for example: cn. Press “Enter”.
- The clinic should have an insurance pricing list in the excel file. The file should have code and price columns. As you can see in the list that the codes are written in the first column and prices in the fourth column.

- Now in the modal, in the Code field, enter the column number of excel sheet having codes. As in this case we have them in the first column so we will write 1 here. In the Price field, enter the column number of excel sheet having codes. As in this case we have them in the fourth column so we will write 4 here.

- Click the “Choose File” button to upload the excel file of insurance pricing.
- Click the “Upload” button.

- The file will be uploaded.
Add Insurance Details for Patient
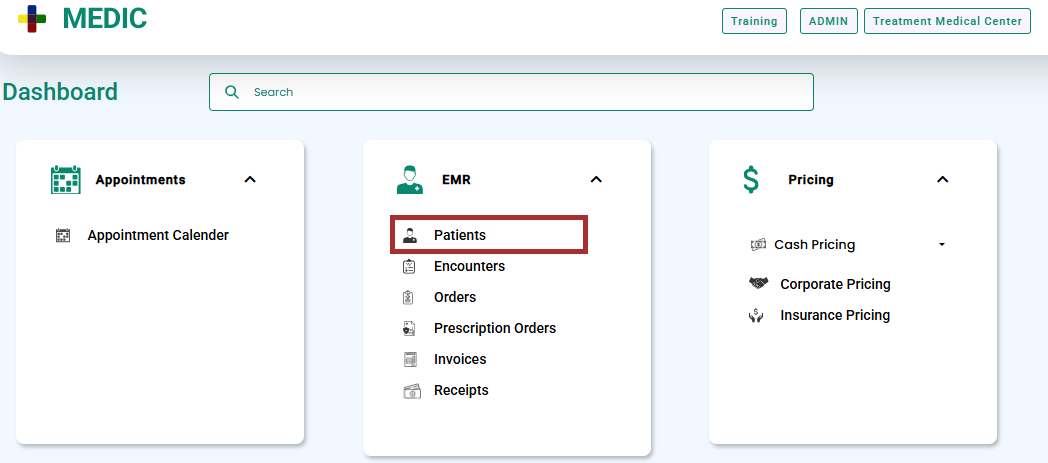
- Go to the “EMR” module and select “Patients” from the admin account.
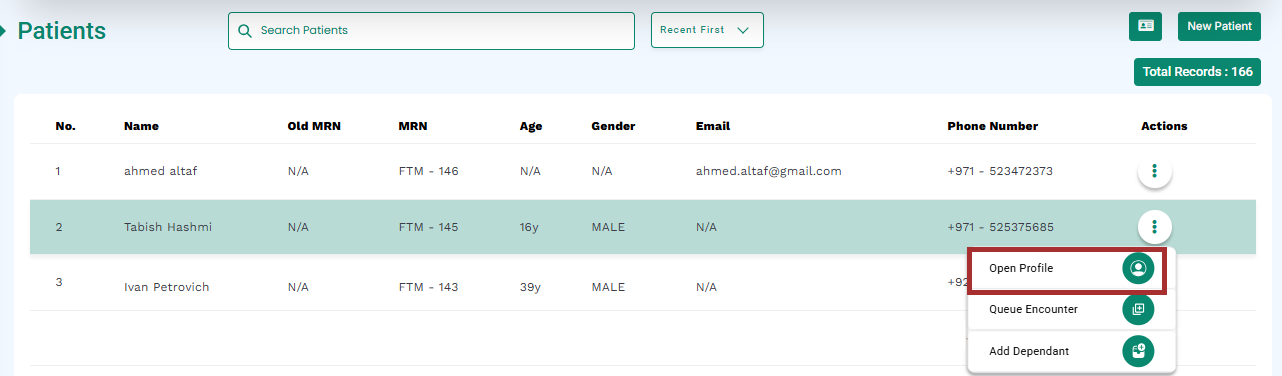
- Click the open profile button, only patients with complete profiles have an open profile button.
- From the available tabs, select the “Insurance Details”.

- Click the “Add Insurance Details” button at the top-right corner of the screen.
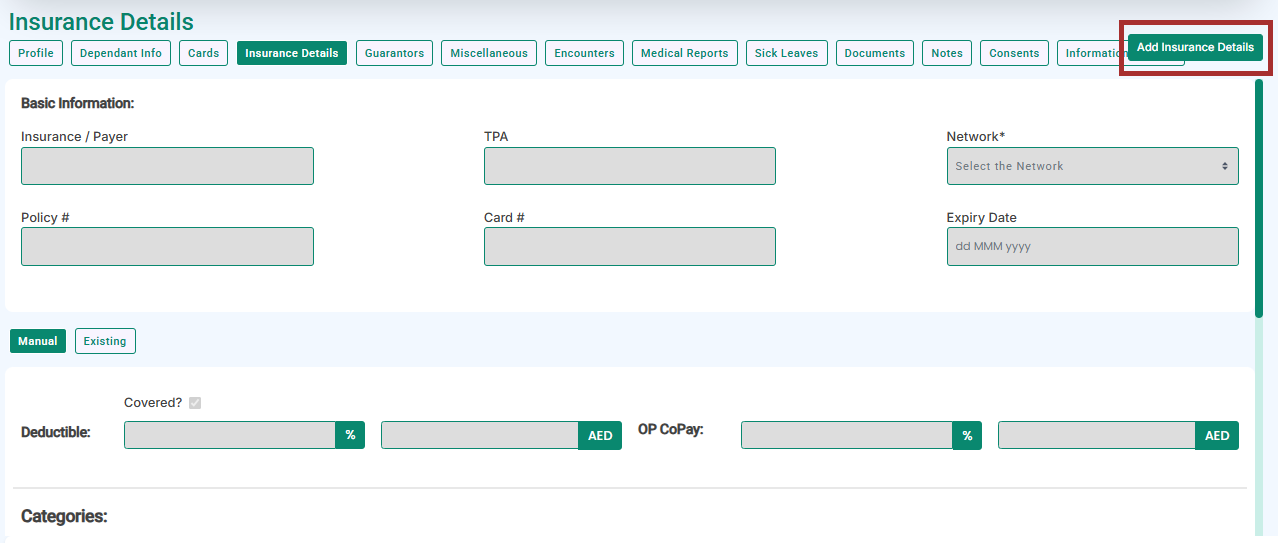
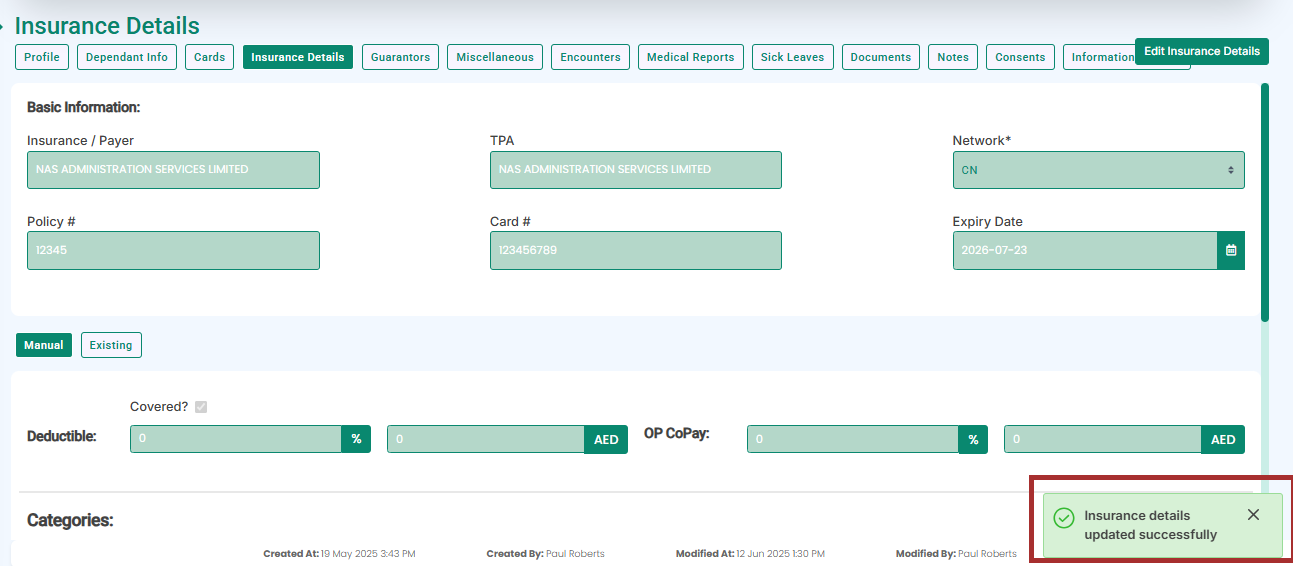
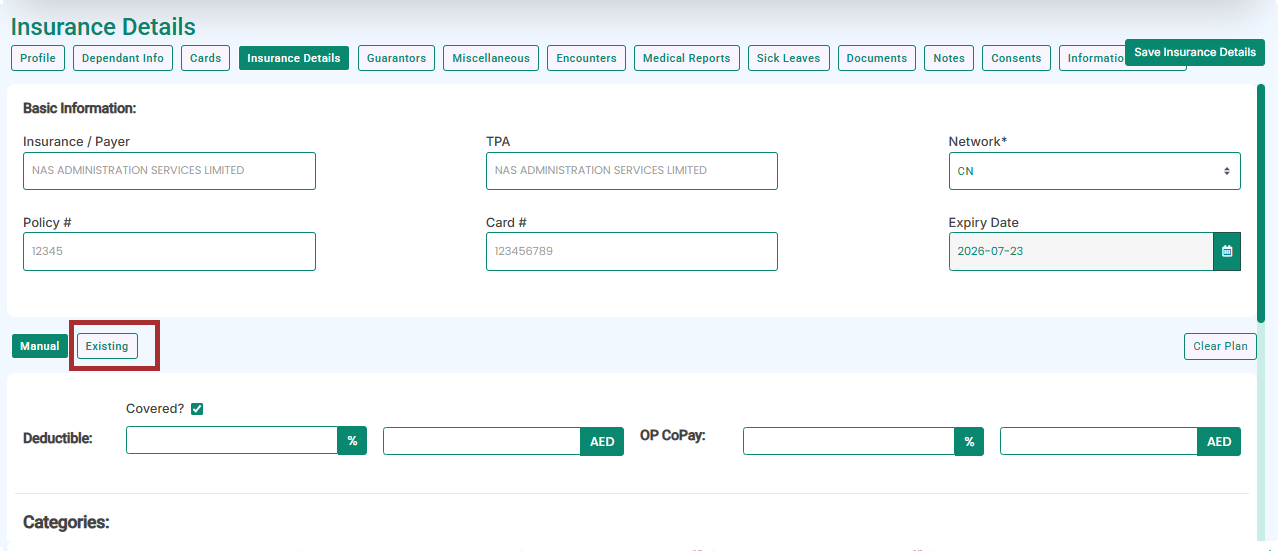
- Add the “Basic Information”.
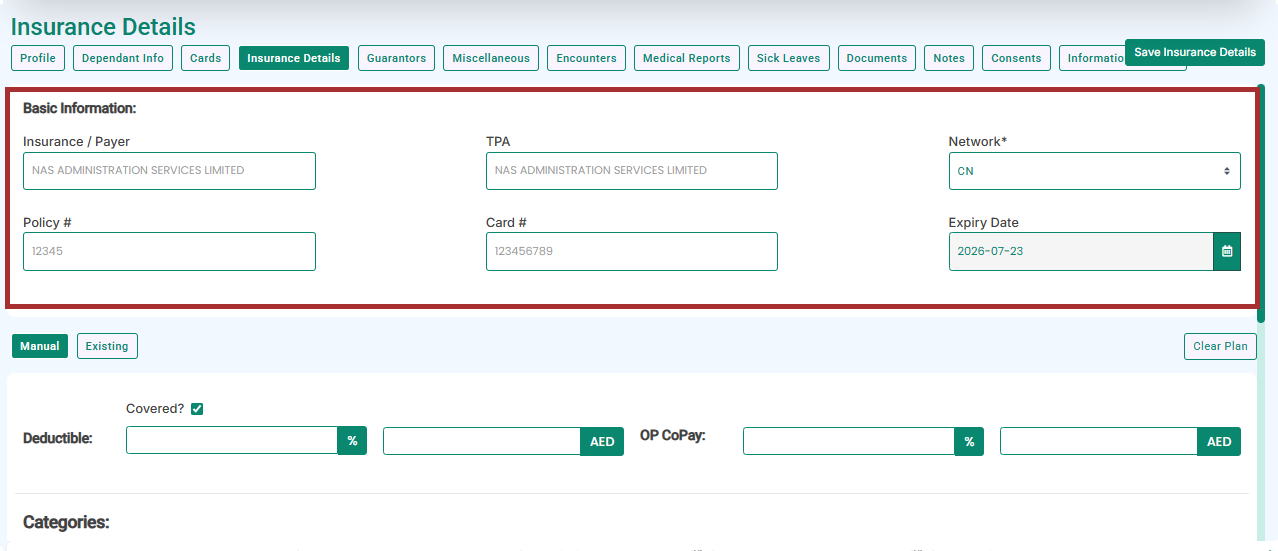
- Now scroll down and add insurance plan details in fields if you want to add manually.
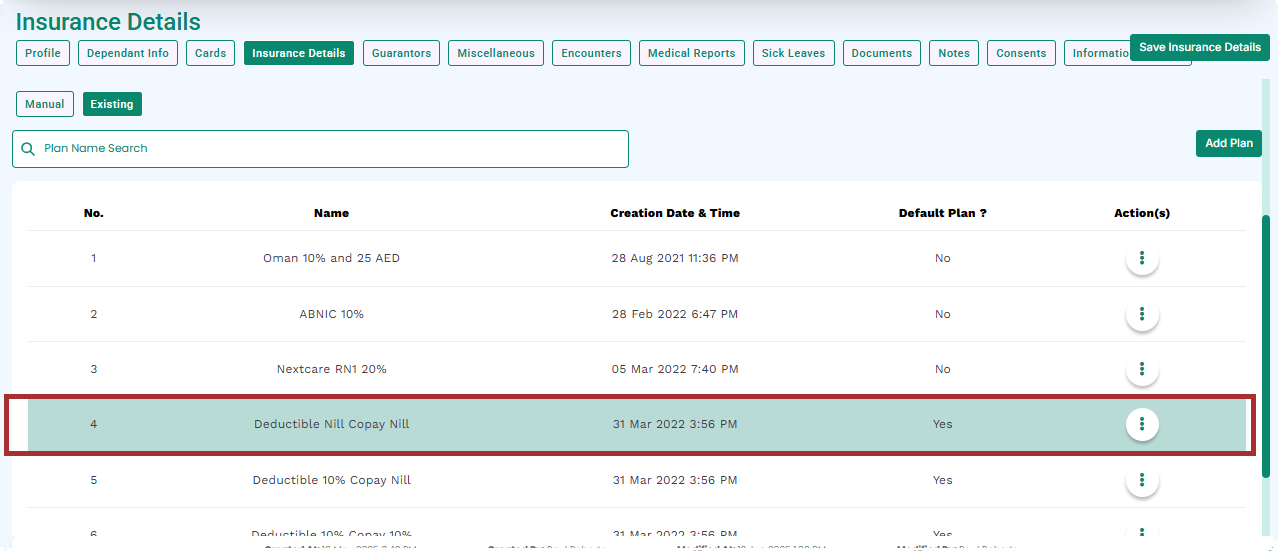
- To add the Insurance plan from the existing, click on the “Existing” tab.
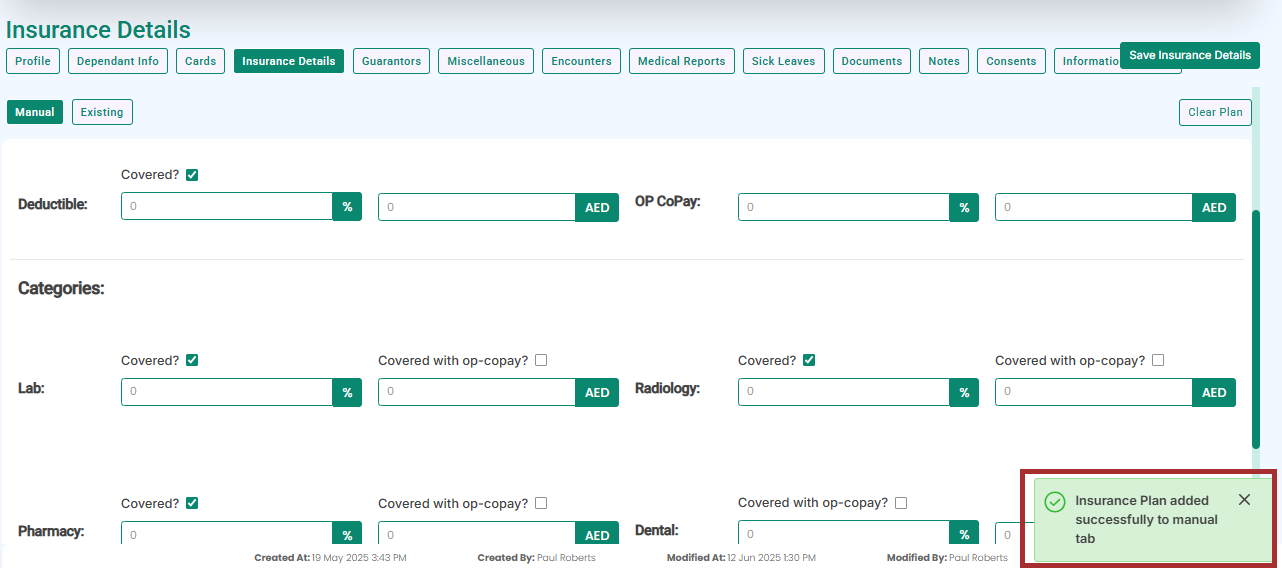
- Select the plan to add and click on it.
- A pop-up will display at the bottom-right for successful addition of plan.
- Click the “Save Insurance Details” button.
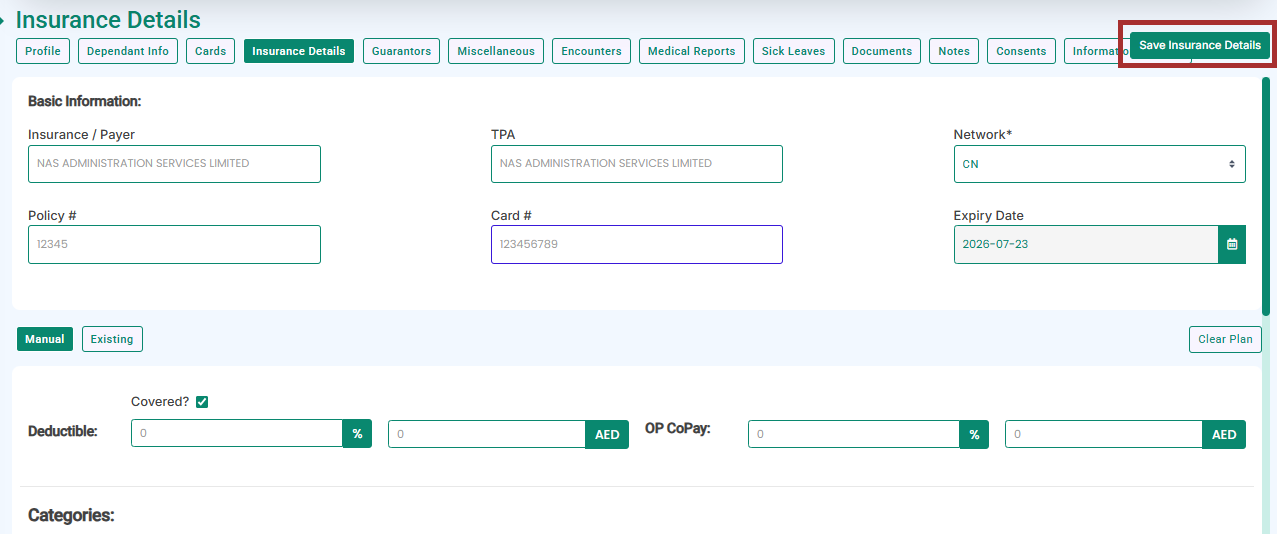
- A pop-up will display at the bottom-right for successful addition of insurance details.