Skip to content
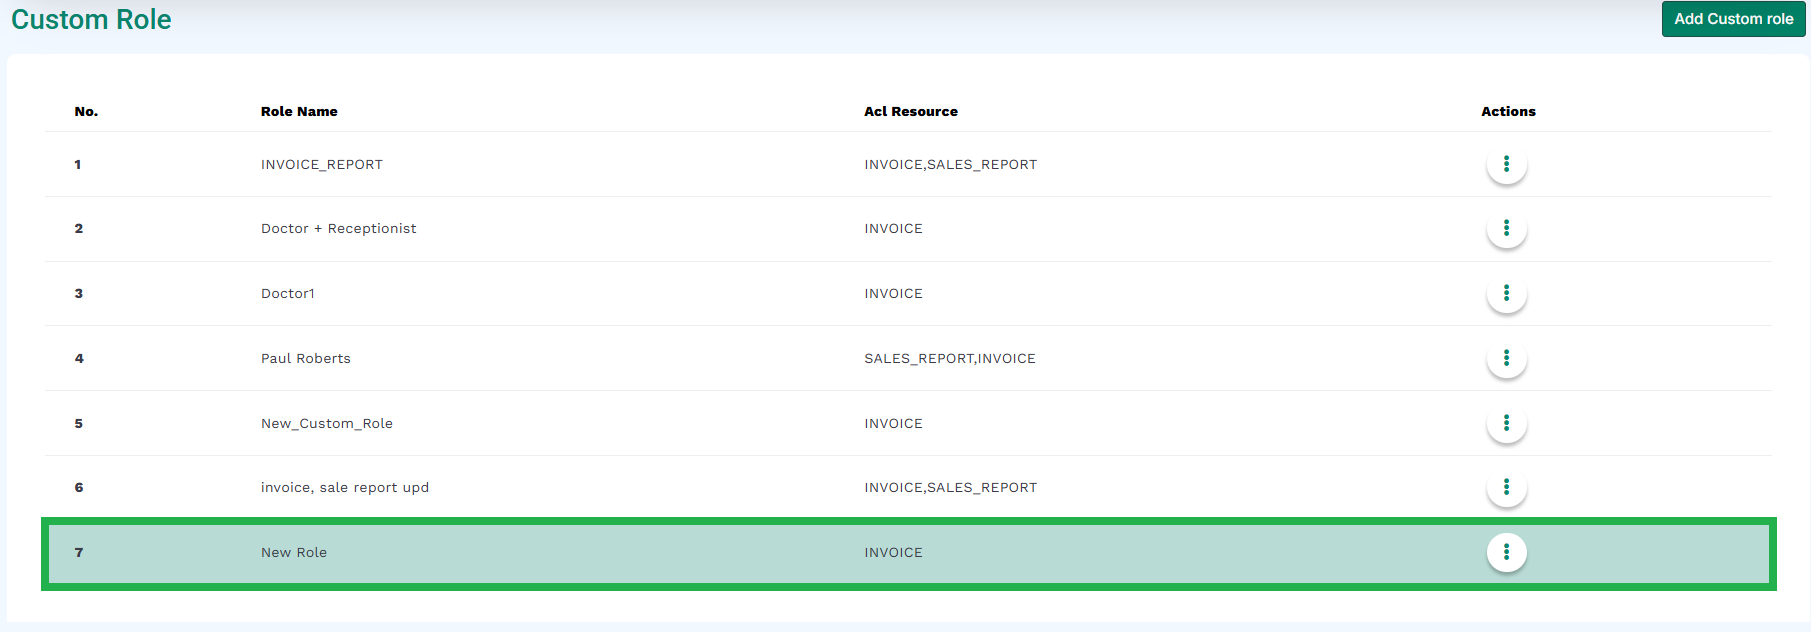
- Go to the Custom Role screen as described in the Pre-requisites section.
- Click the “Add Custom role” button.

- The below modal will appear.
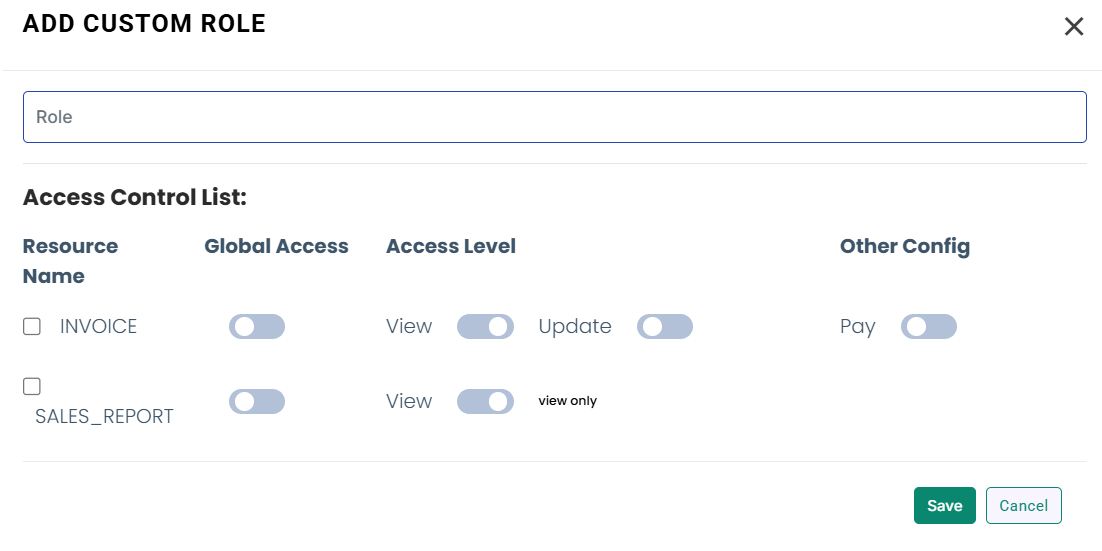
- Enter the name of the role.
- Check-mark the required resource(s) name.
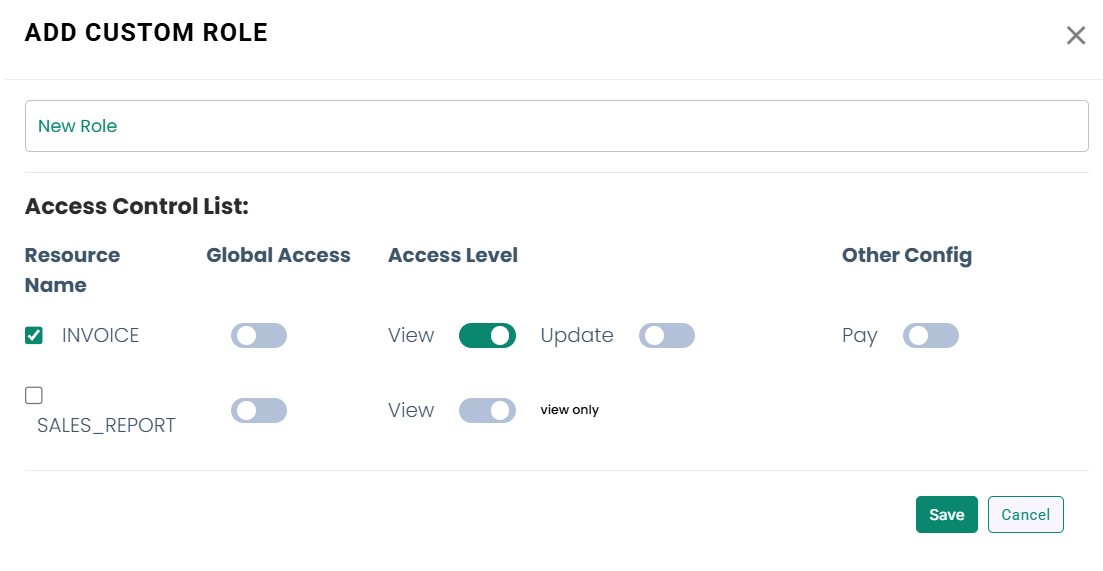
- Enable the access needed for the role by using the toggle button available below each access option for each resource, as shown below.
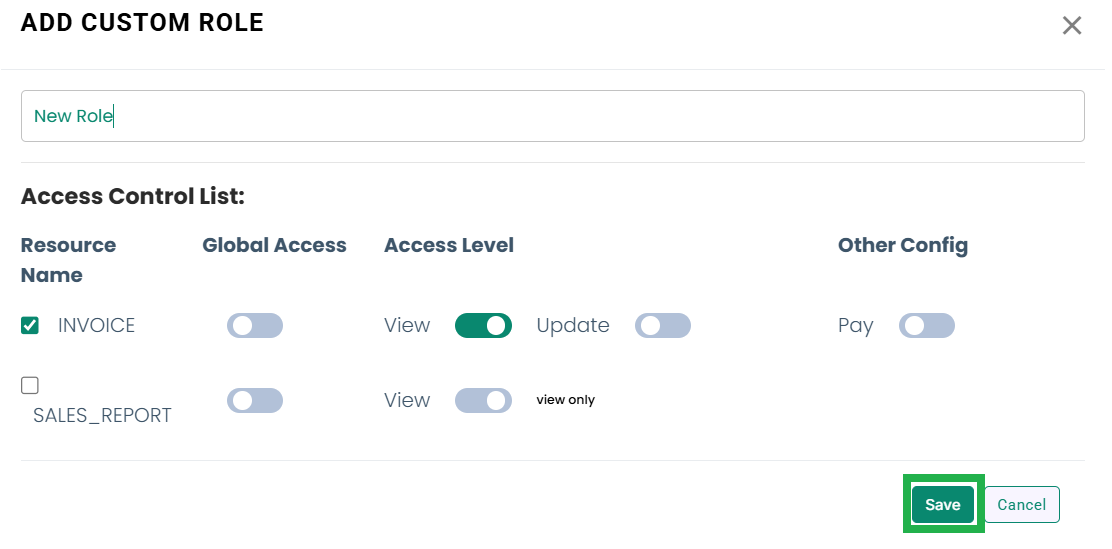
- Click the “Save” button, as highlighted in the below image.
- A pop-up will display at the bottom-right for successful custom role creation, as shown below.
- The new custom role will be created, as shown below.